Appearance
Introduction to FluentSMTP Dashboard
Welcome to FluentSMTP — the most advanced and feature-rich WordPress Mail SMTP plugin, purpose-built for speed, reliability, and scale. The FluentSMTP Dashboard is your single command center for everything email on your WordPress site: connections, logs, real-time alerts, deliverability reports, and more.
Whether you are sending a handful of transactional emails or routing thousands of marketing campaigns through multiple providers, the dashboard gives you full visibility and complete control over how WordPress delivers mail.
This guide walks you through every section of the dashboard so you can find what you need at a glance.
Dashboard Home
The Dashboard Home is the first screen you see after opening FluentSMTP. It gives you a quick snapshot of your email activity — total emails sent, success and failure counts, your active connections, and the most recent delivery trends — all in one place.
FluentSMTP is engineered to make WordPress emails fast, reliable, and effortless to manage. Here is what it brings to the table –
- Native API Integrations — Connect with Gmail, Outlook / Office 365, Amazon SES, SendGrid, Mailgun, Brevo, Postmark, SparkPost, Elastic Email, Netcore, SMTP2GO, and any standard SMTP server.
- Real-Time Email Delivery — Emails go out the moment your site triggers them, with no queue delay or background lag.
- Smart Email Routing — Send different types of emails through different providers automatically based on rules you define.
- Fallback Connection — Configure a backup connection that takes over the instant your primary fails, so no email is ever lost.
- Detailed Email Logs — Every outgoing email is logged with full status, recipient, headers, and the complete server response.
- One-Click Resend — Resend any failed or successful email straight from the logs without leaving WordPress.
- In-Depth Reports — Visual charts of sent, successful, and failed emails grouped by day, time, and connection.
- Real-Time Failure Alerts — Receive instant notifications on Slack, Telegram, Discord, or email the moment something goes wrong.
- Lightning-Fast UI — A Vue.js-powered admin built for speed, clarity, and accessibility.
- 100% Free & Open Source — No license keys, no premium gates. The full plugin is free, forever.
Note: All features above work out of the box right after installation. There is no setup wizard to complete and no upgrade nag — just install, connect a provider, and you are ready to send.
Settings
The Settings section is the central control panel of FluentSMTP. Here you manage default and fallback connections, email logging behavior, retention rules, multi-part email options, and more.
For a complete breakdown of every available setting and what it does, read the FluentSMTP Settings guide.
Email Test
The Email Test tool is a quick way to confirm that any configured email connection is actually delivering mail. Use it after setting up a new provider, after switching connections, or any time you want to verify deliverability.
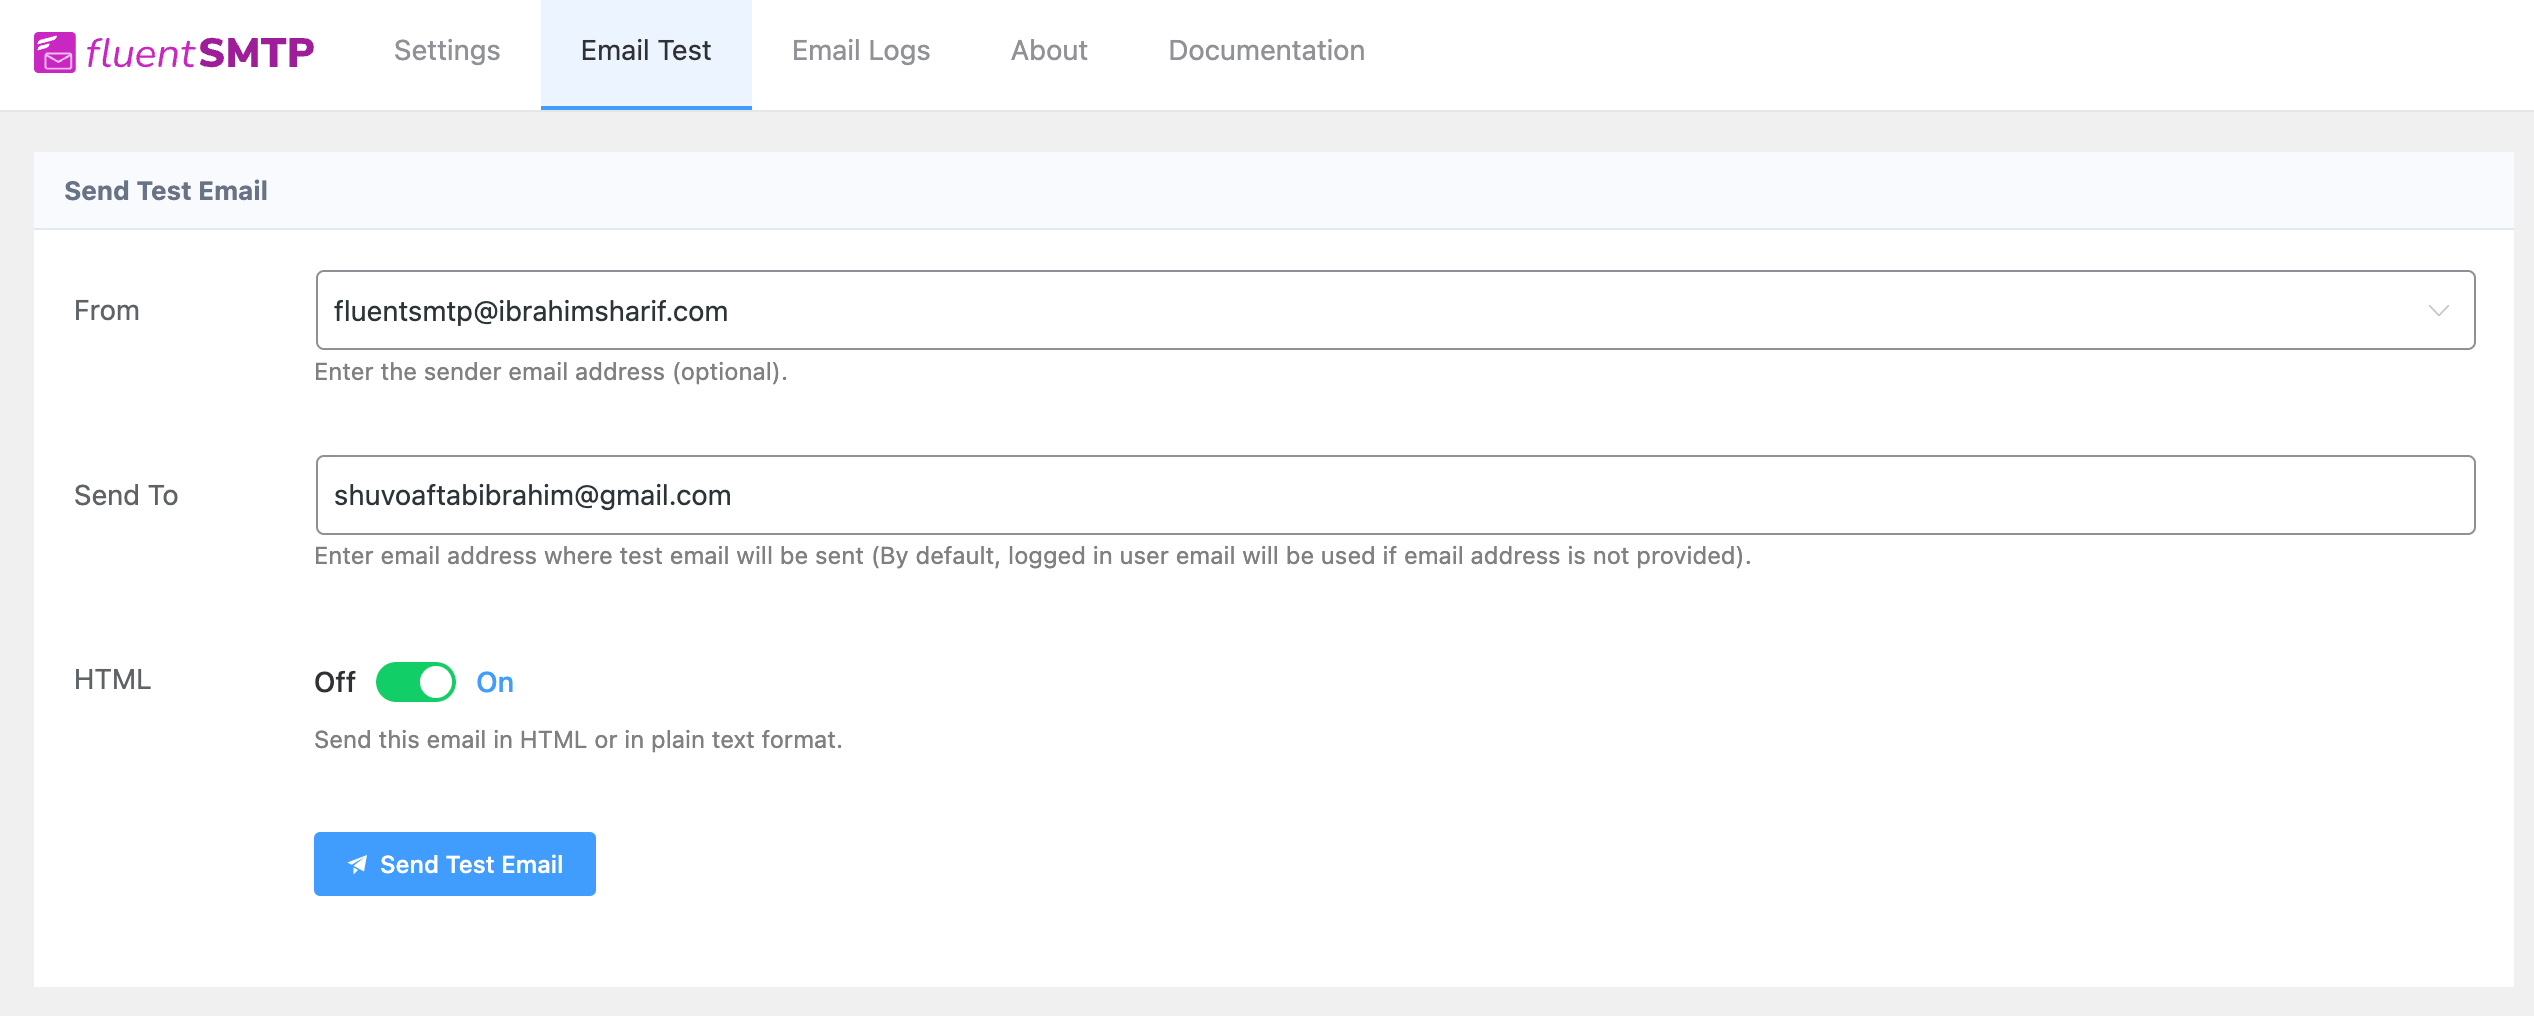
Send a Test Email
- From: The From Field lets you choose the sender email based on your configured email connections. If nothing is selected, the default connection is used.
- Send To: Use a free ESP email address (Gmail, Outlook, Yahoo, etc.) in the Send To Field to receive the test email and confirm it arrives.
- HTML: Choose whether to send the test email in HTML MIME or Plain Text format.
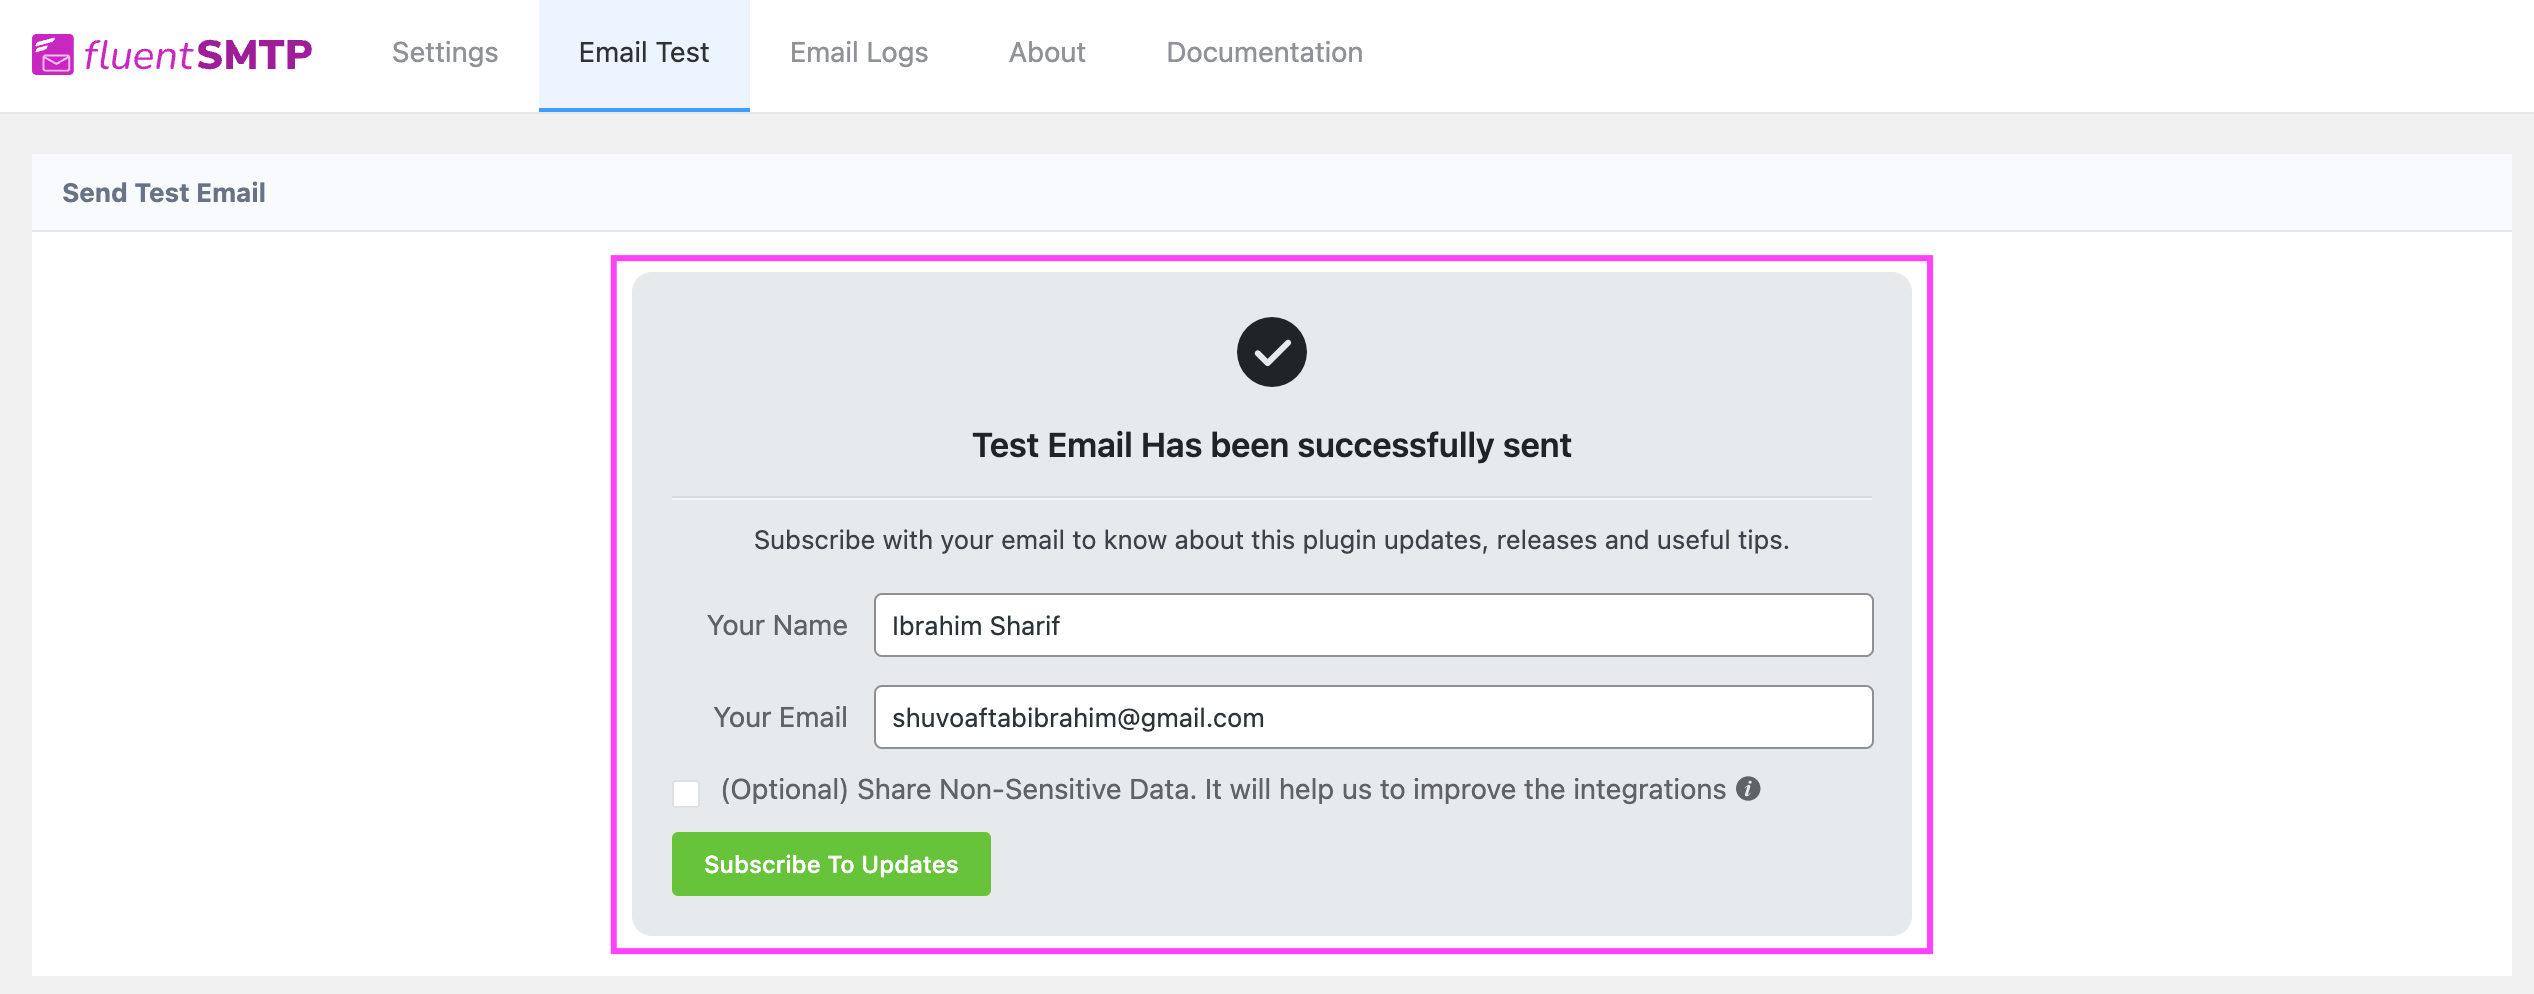
Test Email Confirmation
Once you send the test email, FluentSMTP attempts to dispatch it through the selected connection. If the connectivity to the remote mail server and the authentication credentials are both healthy, you will see a success message like the one below.
Confirm Test Email Deliverability
Now check your email client to confirm the message has actually landed in the inbox. In the example below, a Gmail account received the test email successfully.
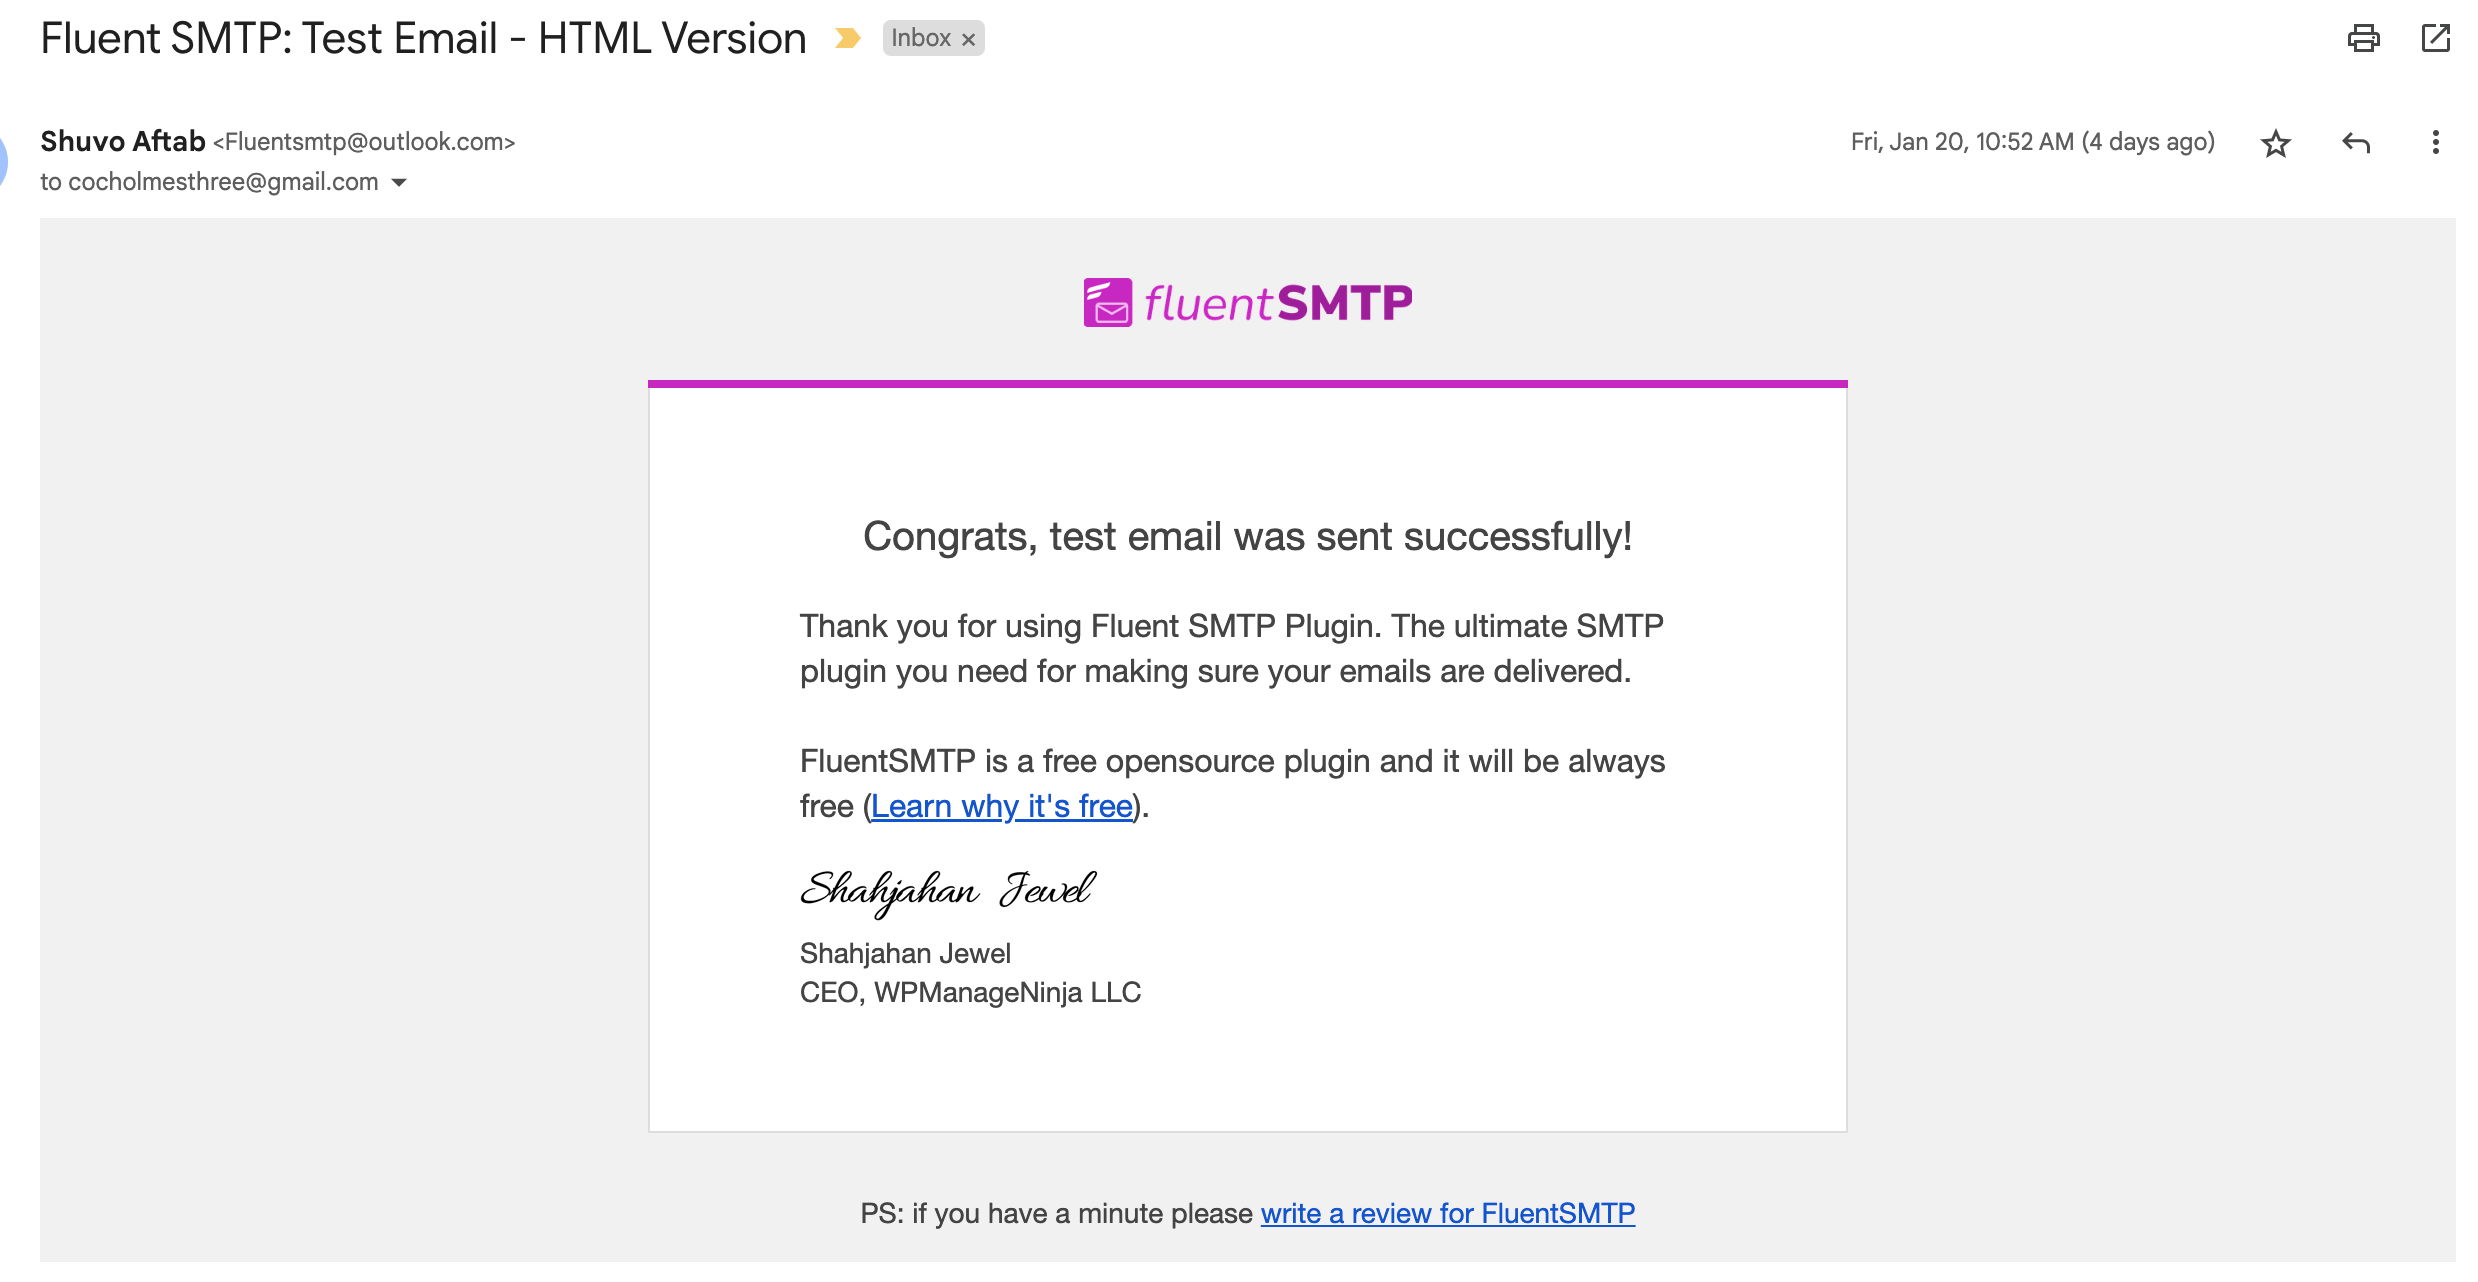
Note: If the test email is not in the Inbox folder, check your Junk or Spam folder as well. Domain reputation, IP reputation, and provider deliverability all influence inbox placement, so an arrival in spam is still proof the connection is working.
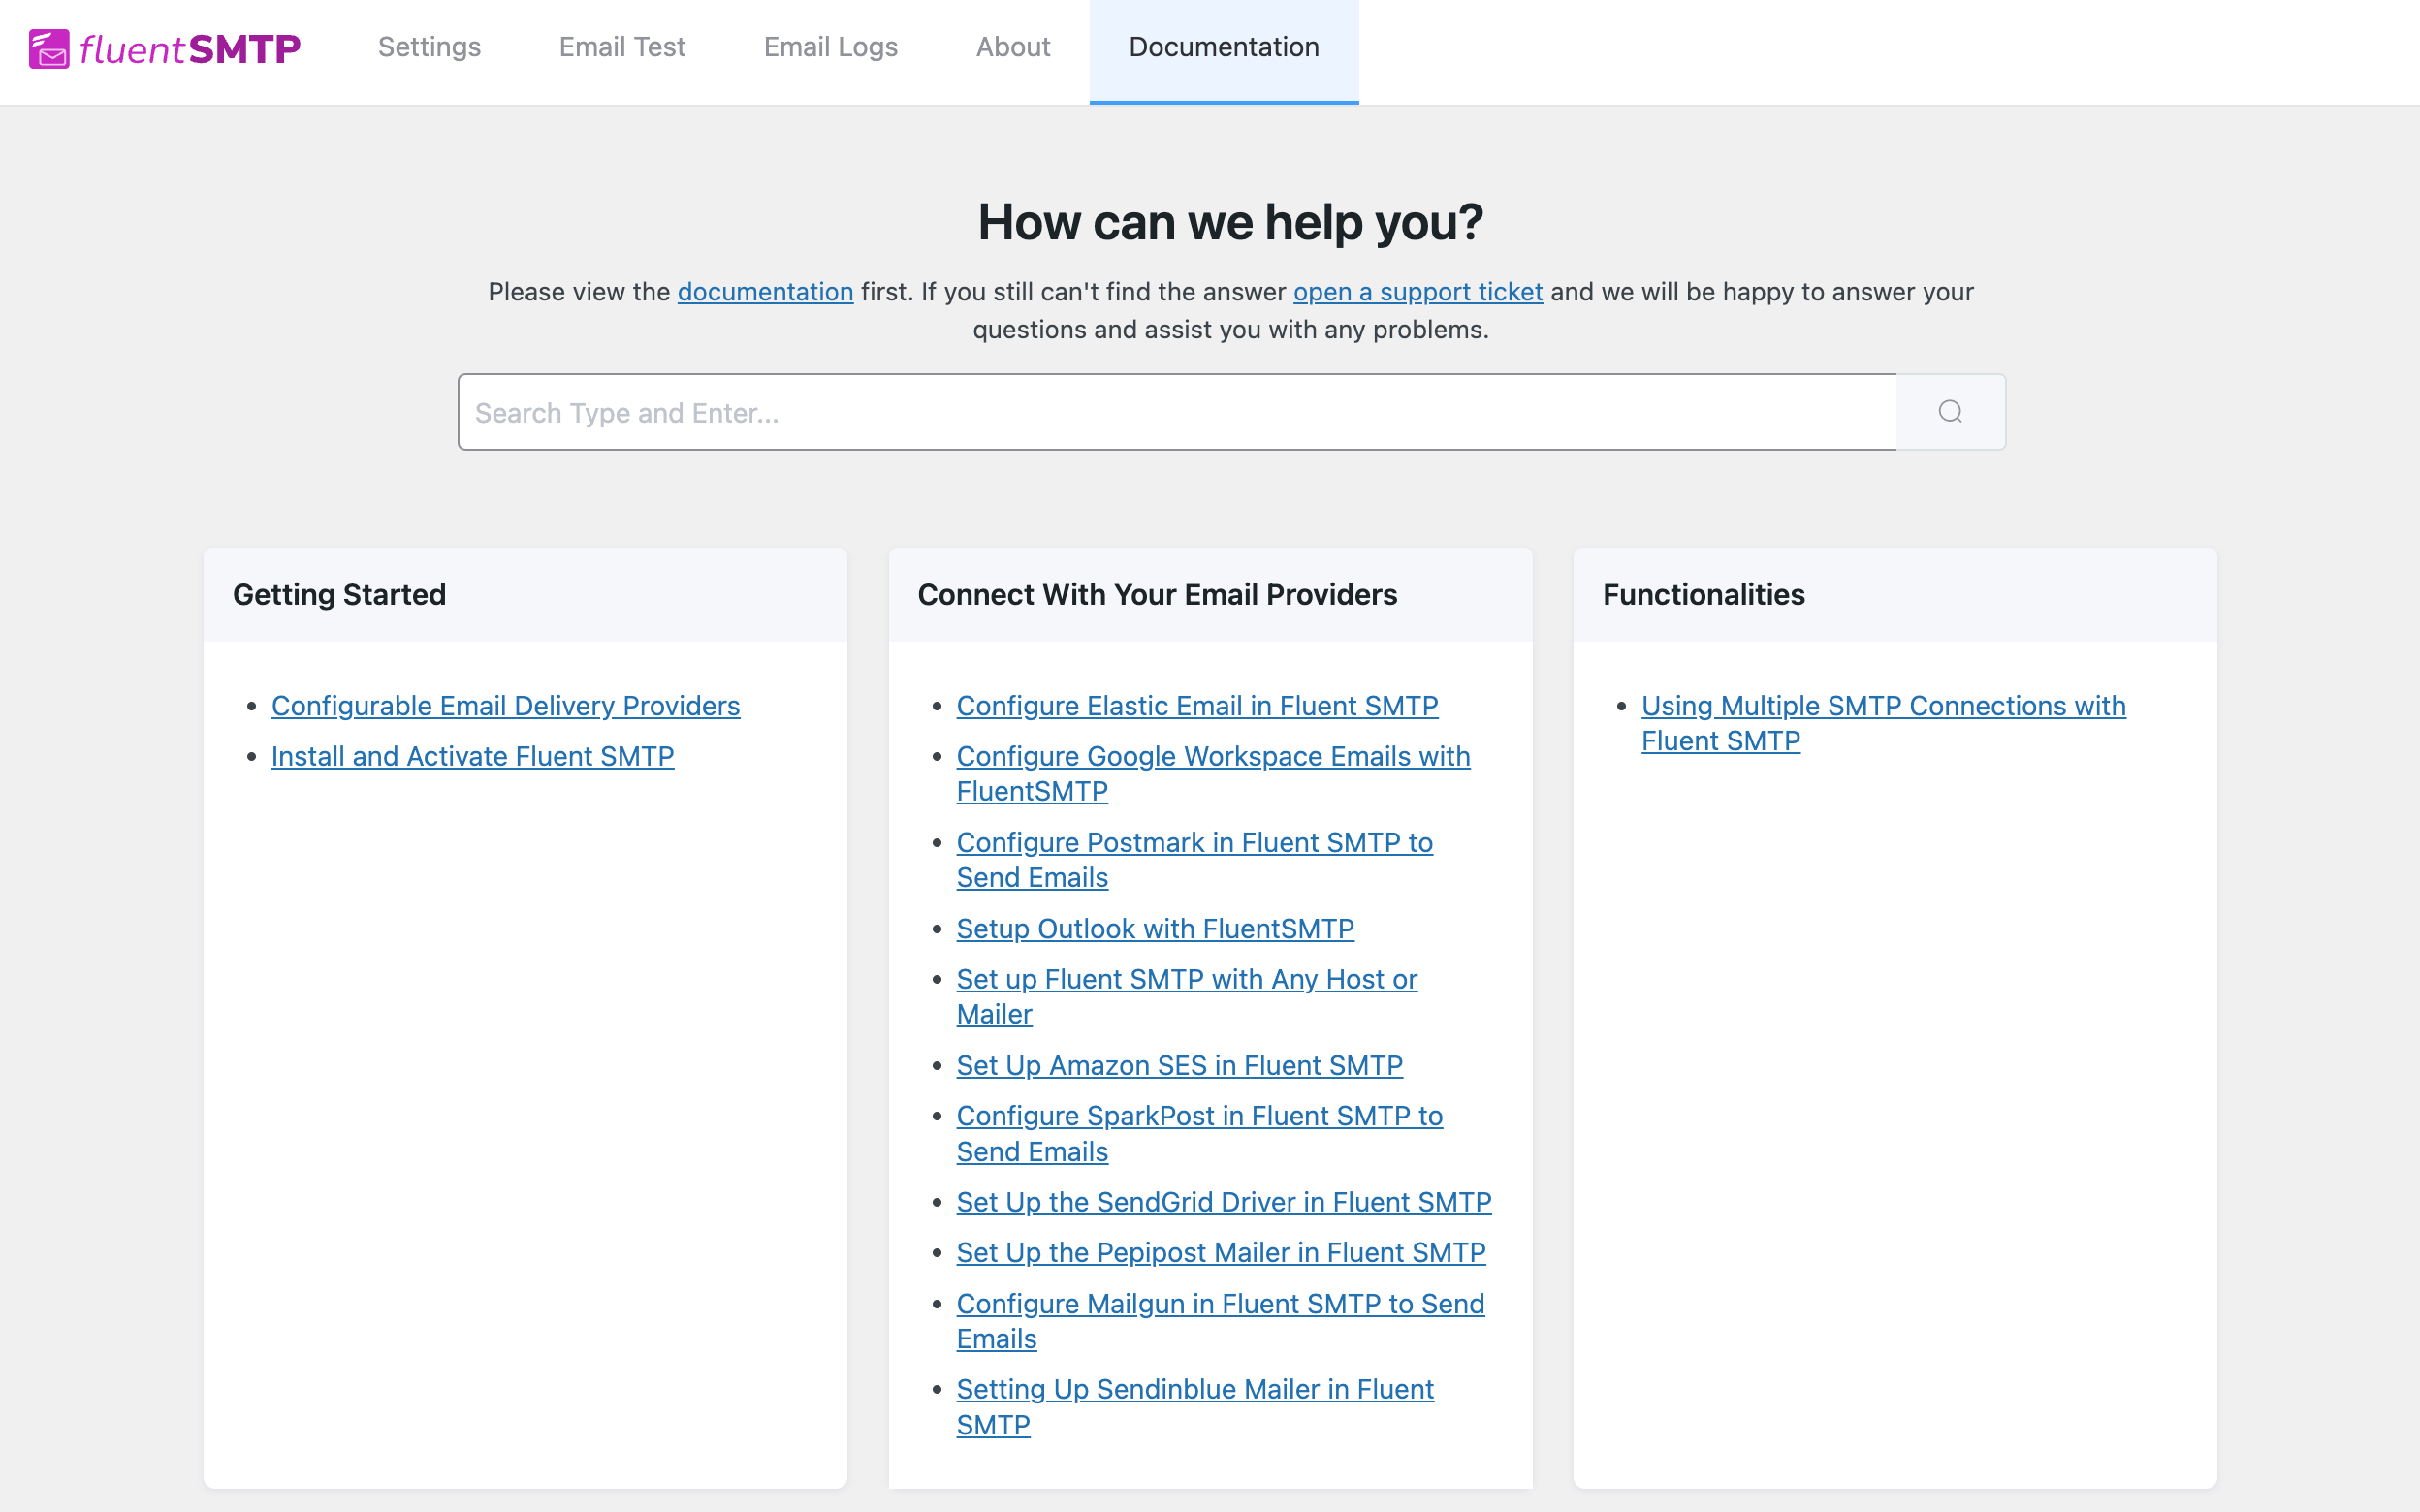
Documentation
The last menu in the dashboard is Documentation — your in-app shortcut to setup guides, configuration walkthroughs, and provider-specific tutorials. Use it whenever you need a quick reference without leaving WordPress.
That is the full FluentSMTP Dashboard at a glance. From here, the next step is to install and activate FluentSMTP (if you have not already) and then connect your first email delivery provider. Happy Fluent mailing!