Appearance
Outlook or Office365 with FluentSMTP
FluentSMTP – WP Mail Plugin provides you options to connect with your Outlook or Office 365 emails and send emails over their API. It’s fast and secure. Using the OAuth2 authentication system for the connection, You can easily set up the connection and send your emails with Office 365 / Outlook emails.
This is a step-by-step tutorial on setting up Outlook or Office365 API with WordPress by FluentSMTP.
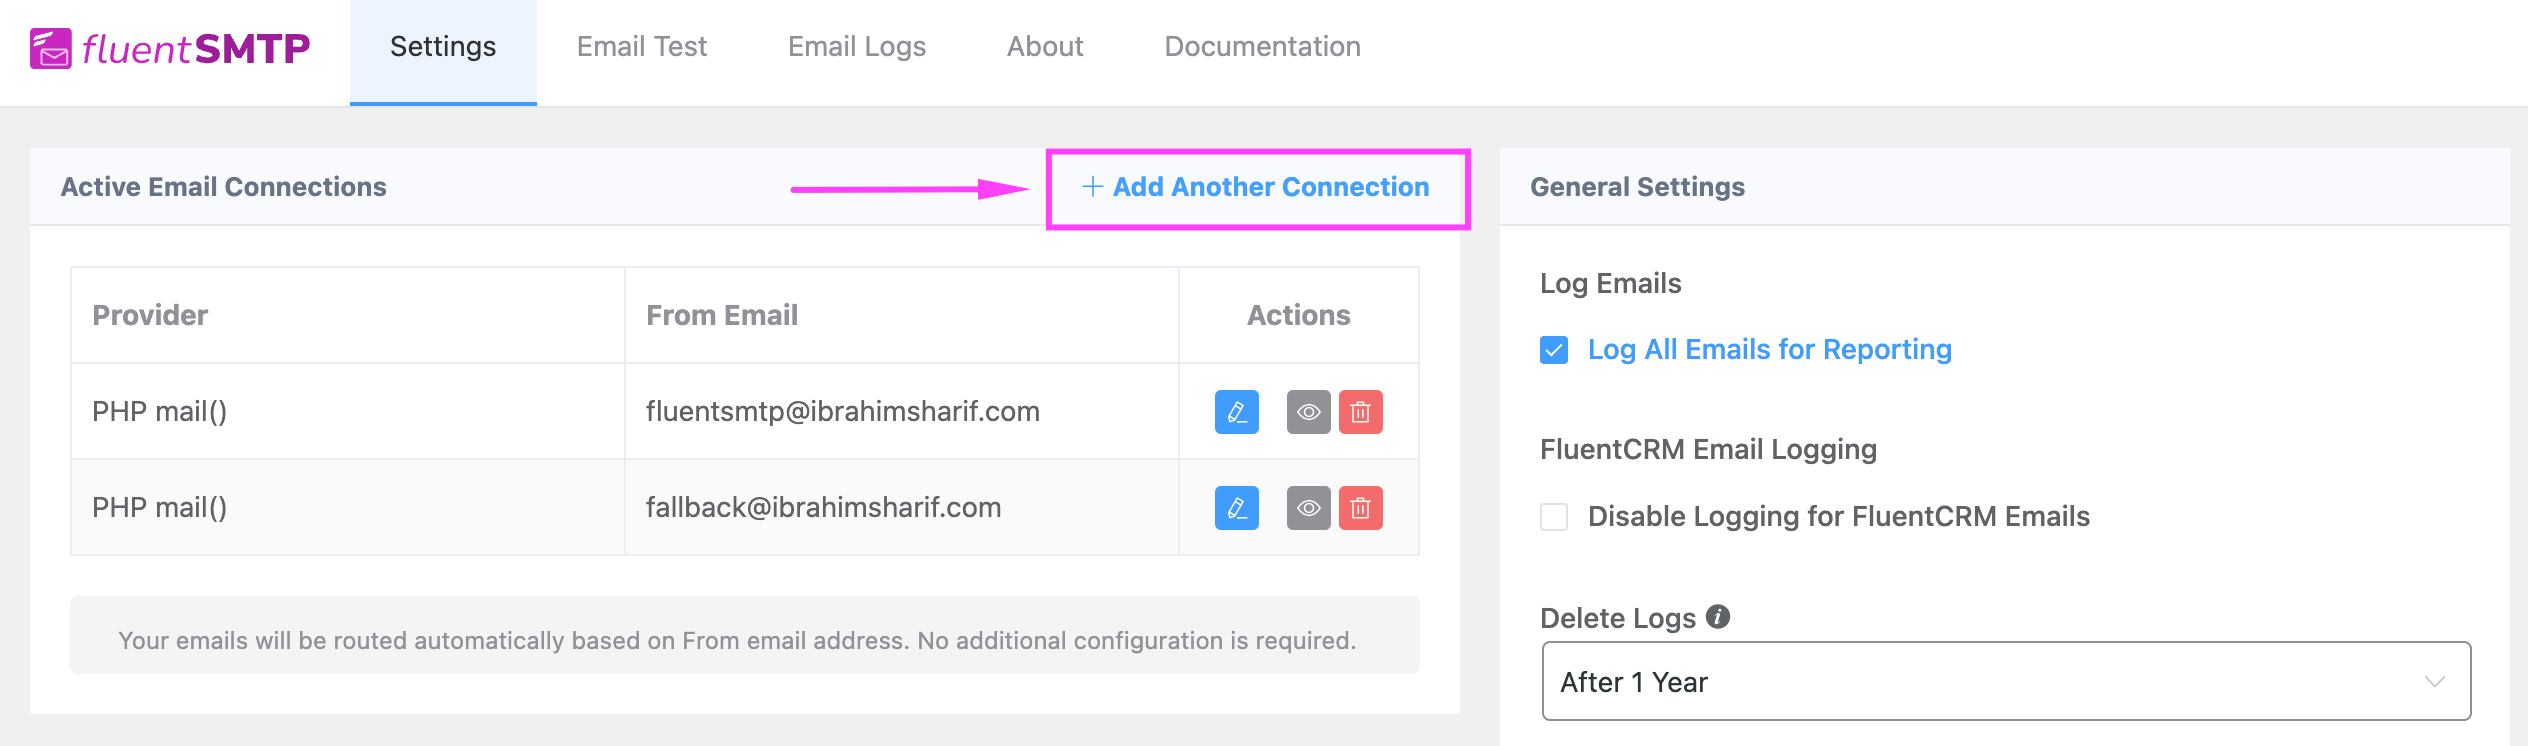
If you haven't set up any SMTP Connection yet, you will be directed to configure a connection automatically. Now from your WordPress Dashboard go to Settings ⮕ FluentSMTP
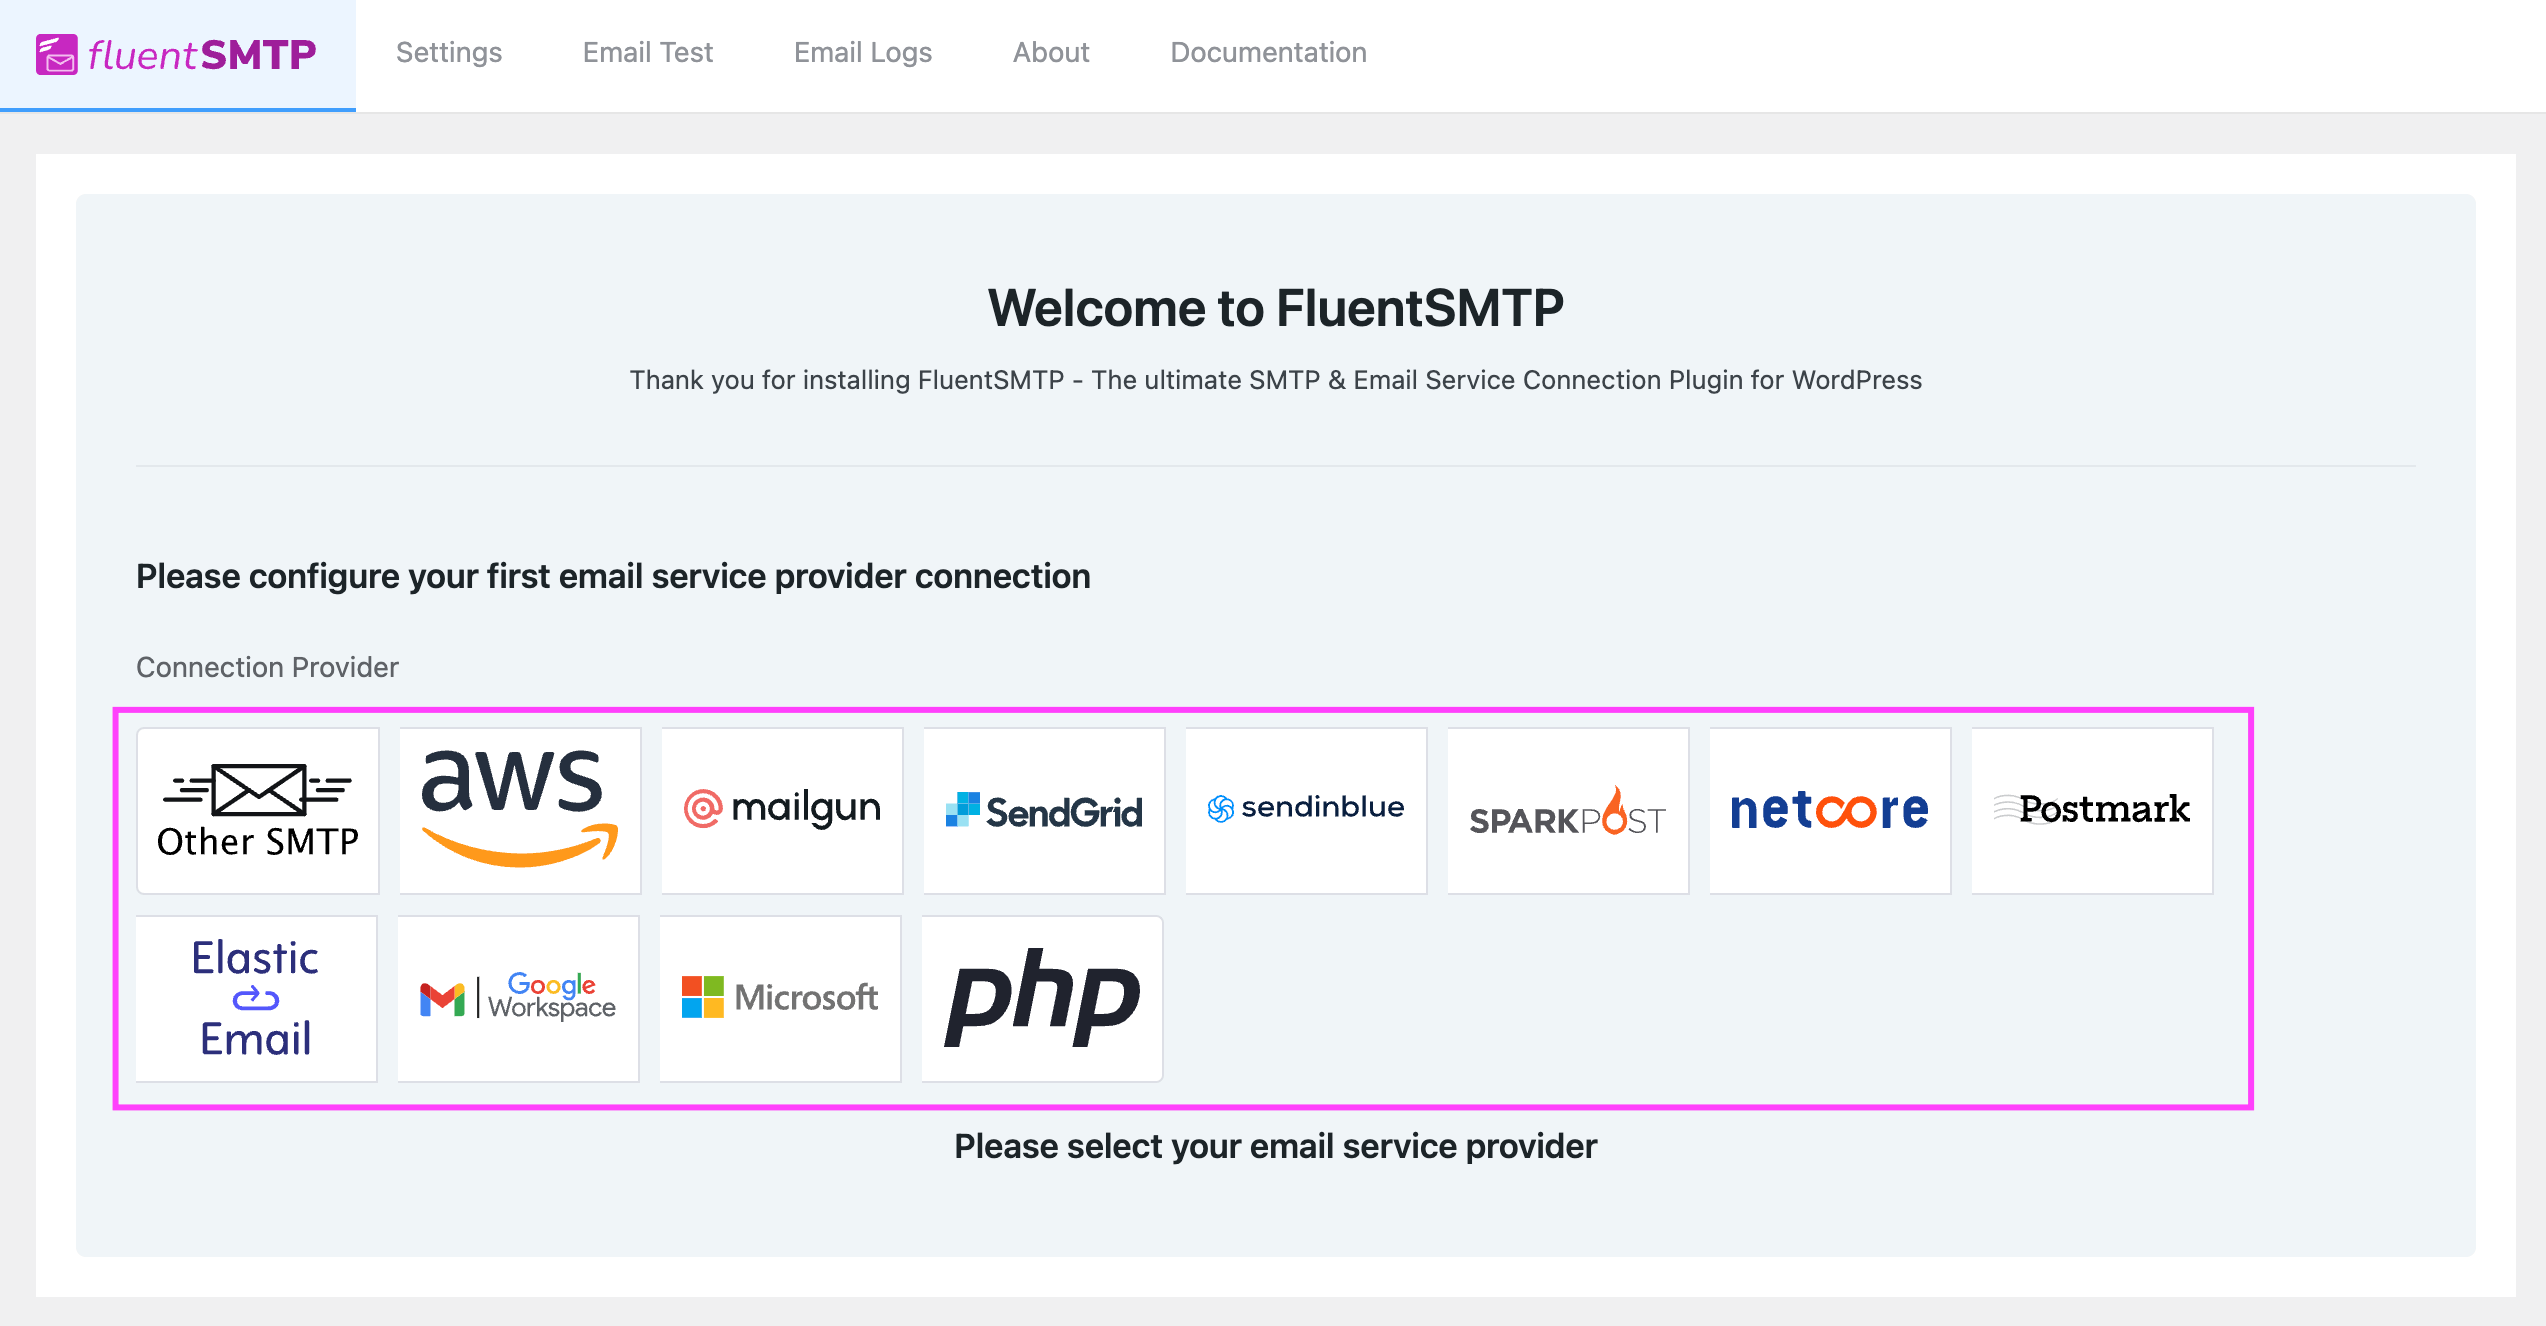
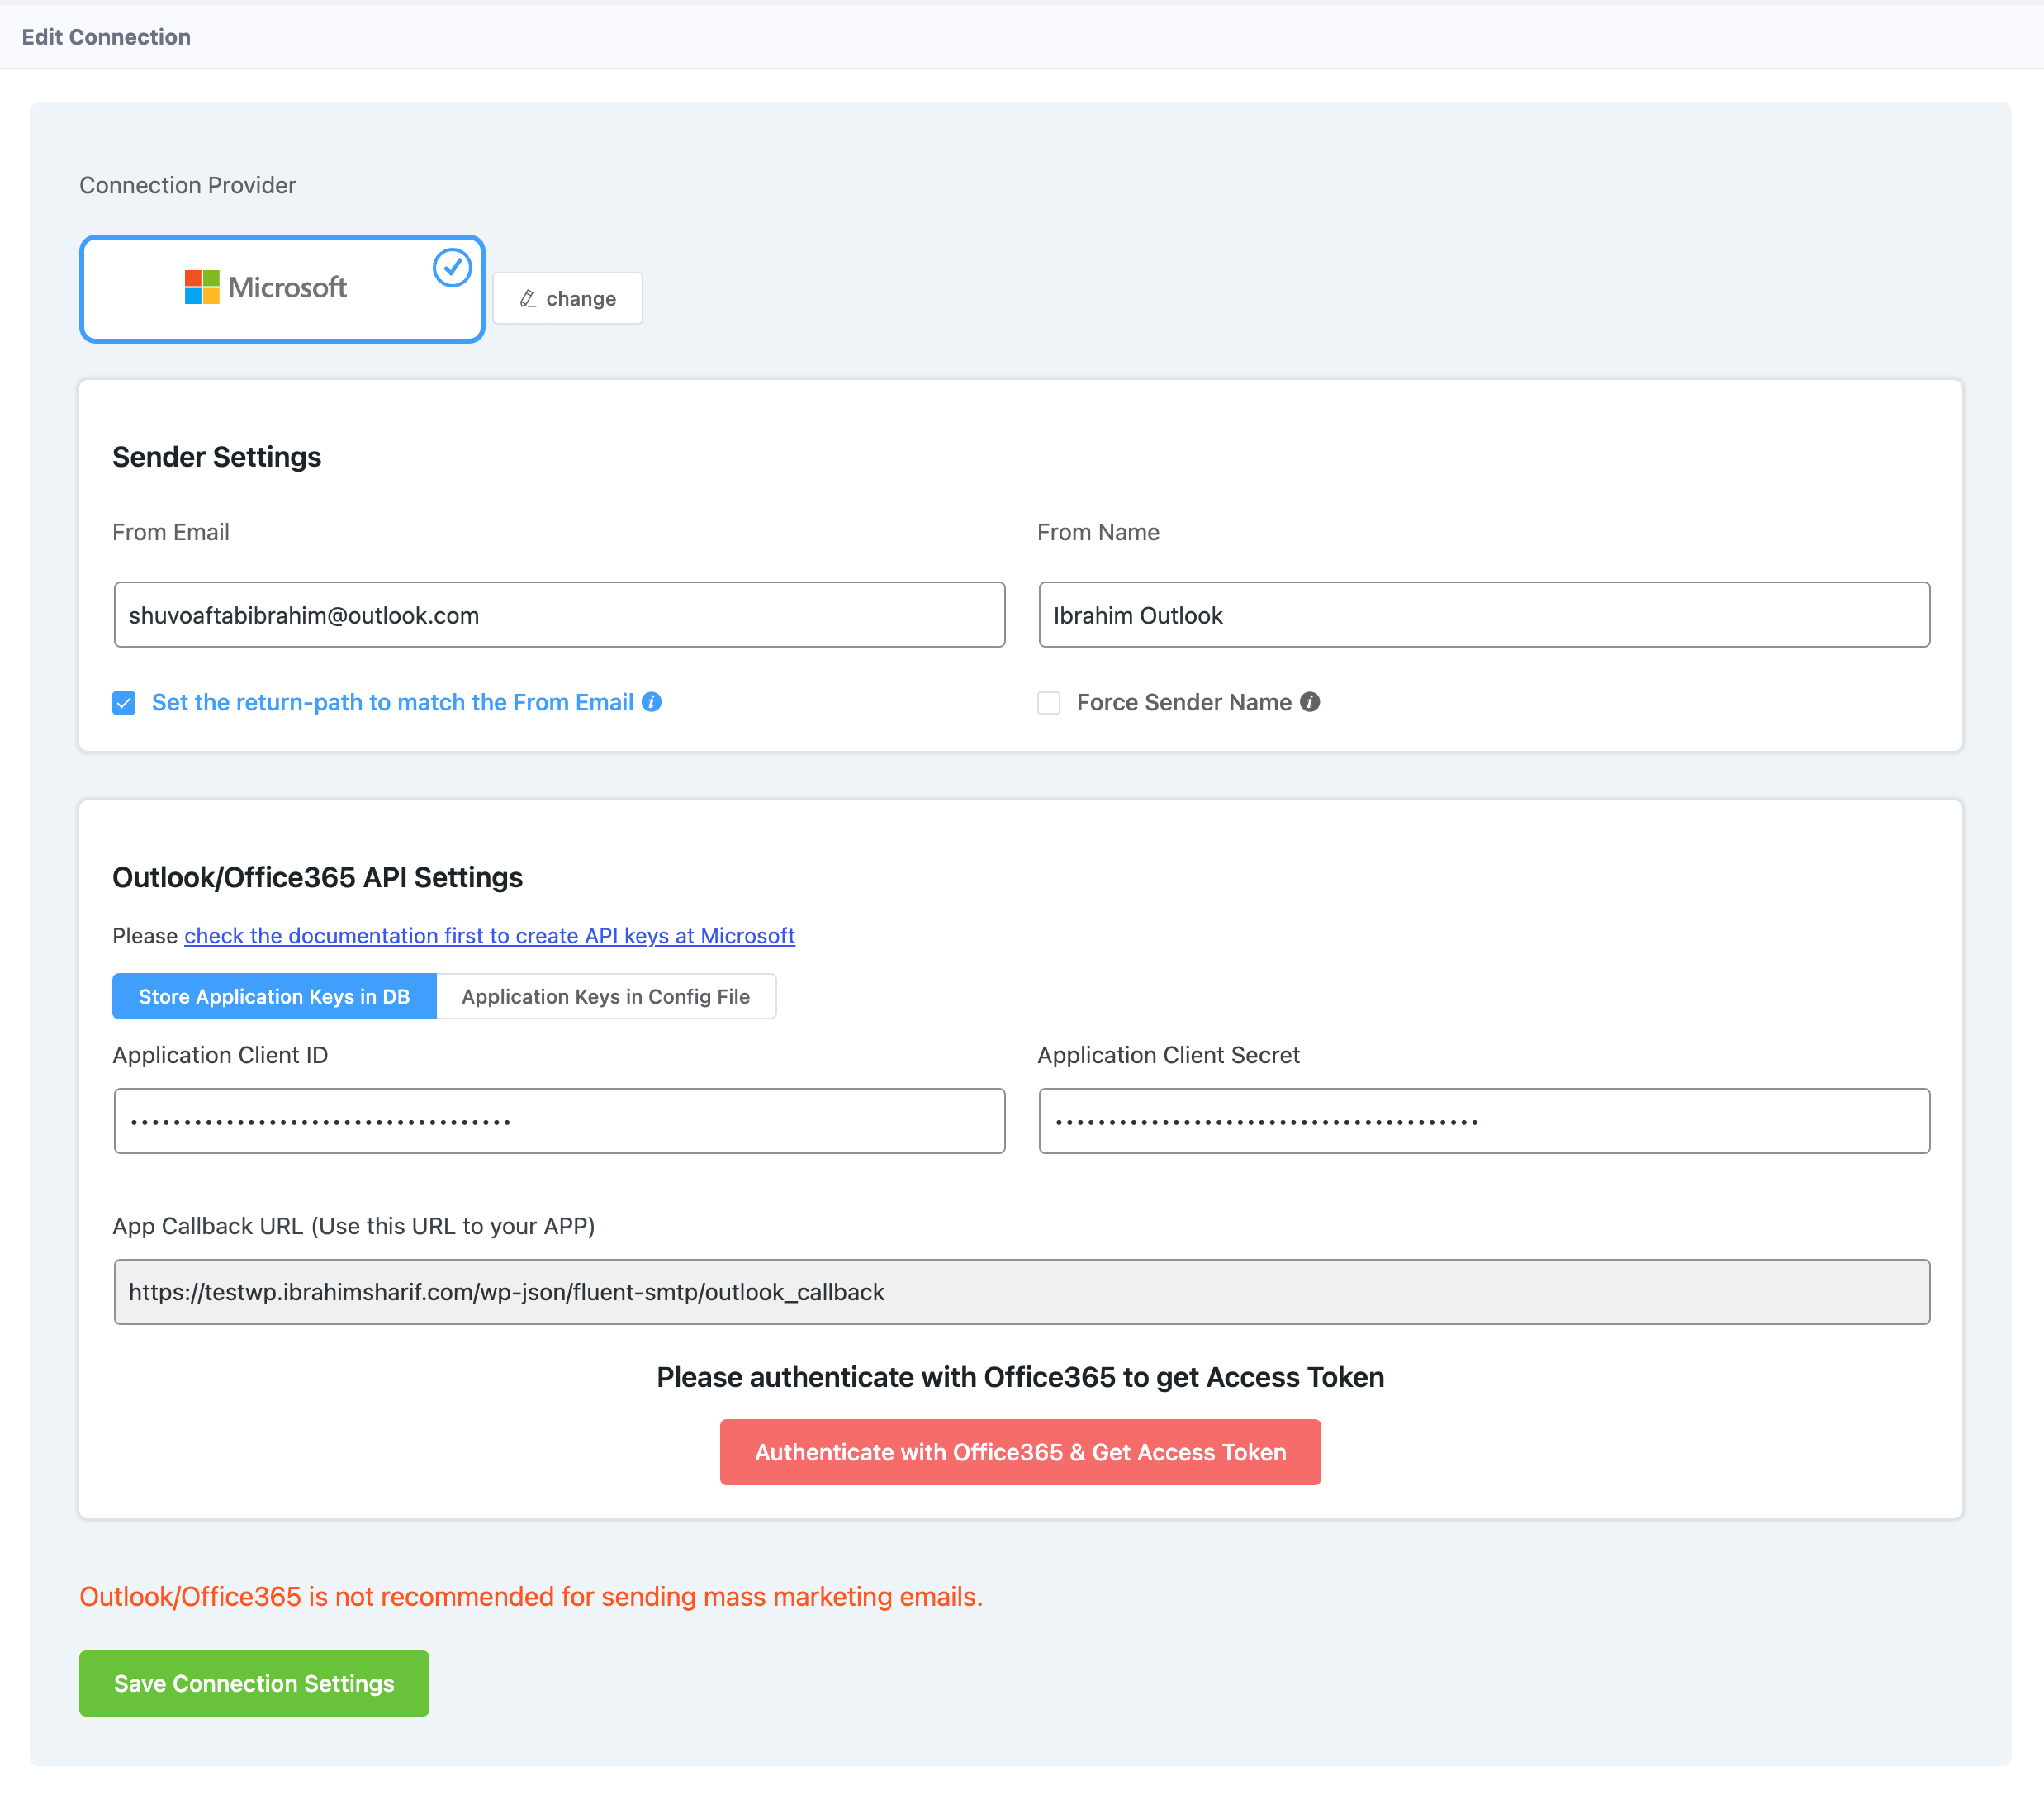
After selecting Microsoft as the mailer, a very simple settings window will open as shown in the screenshot below.
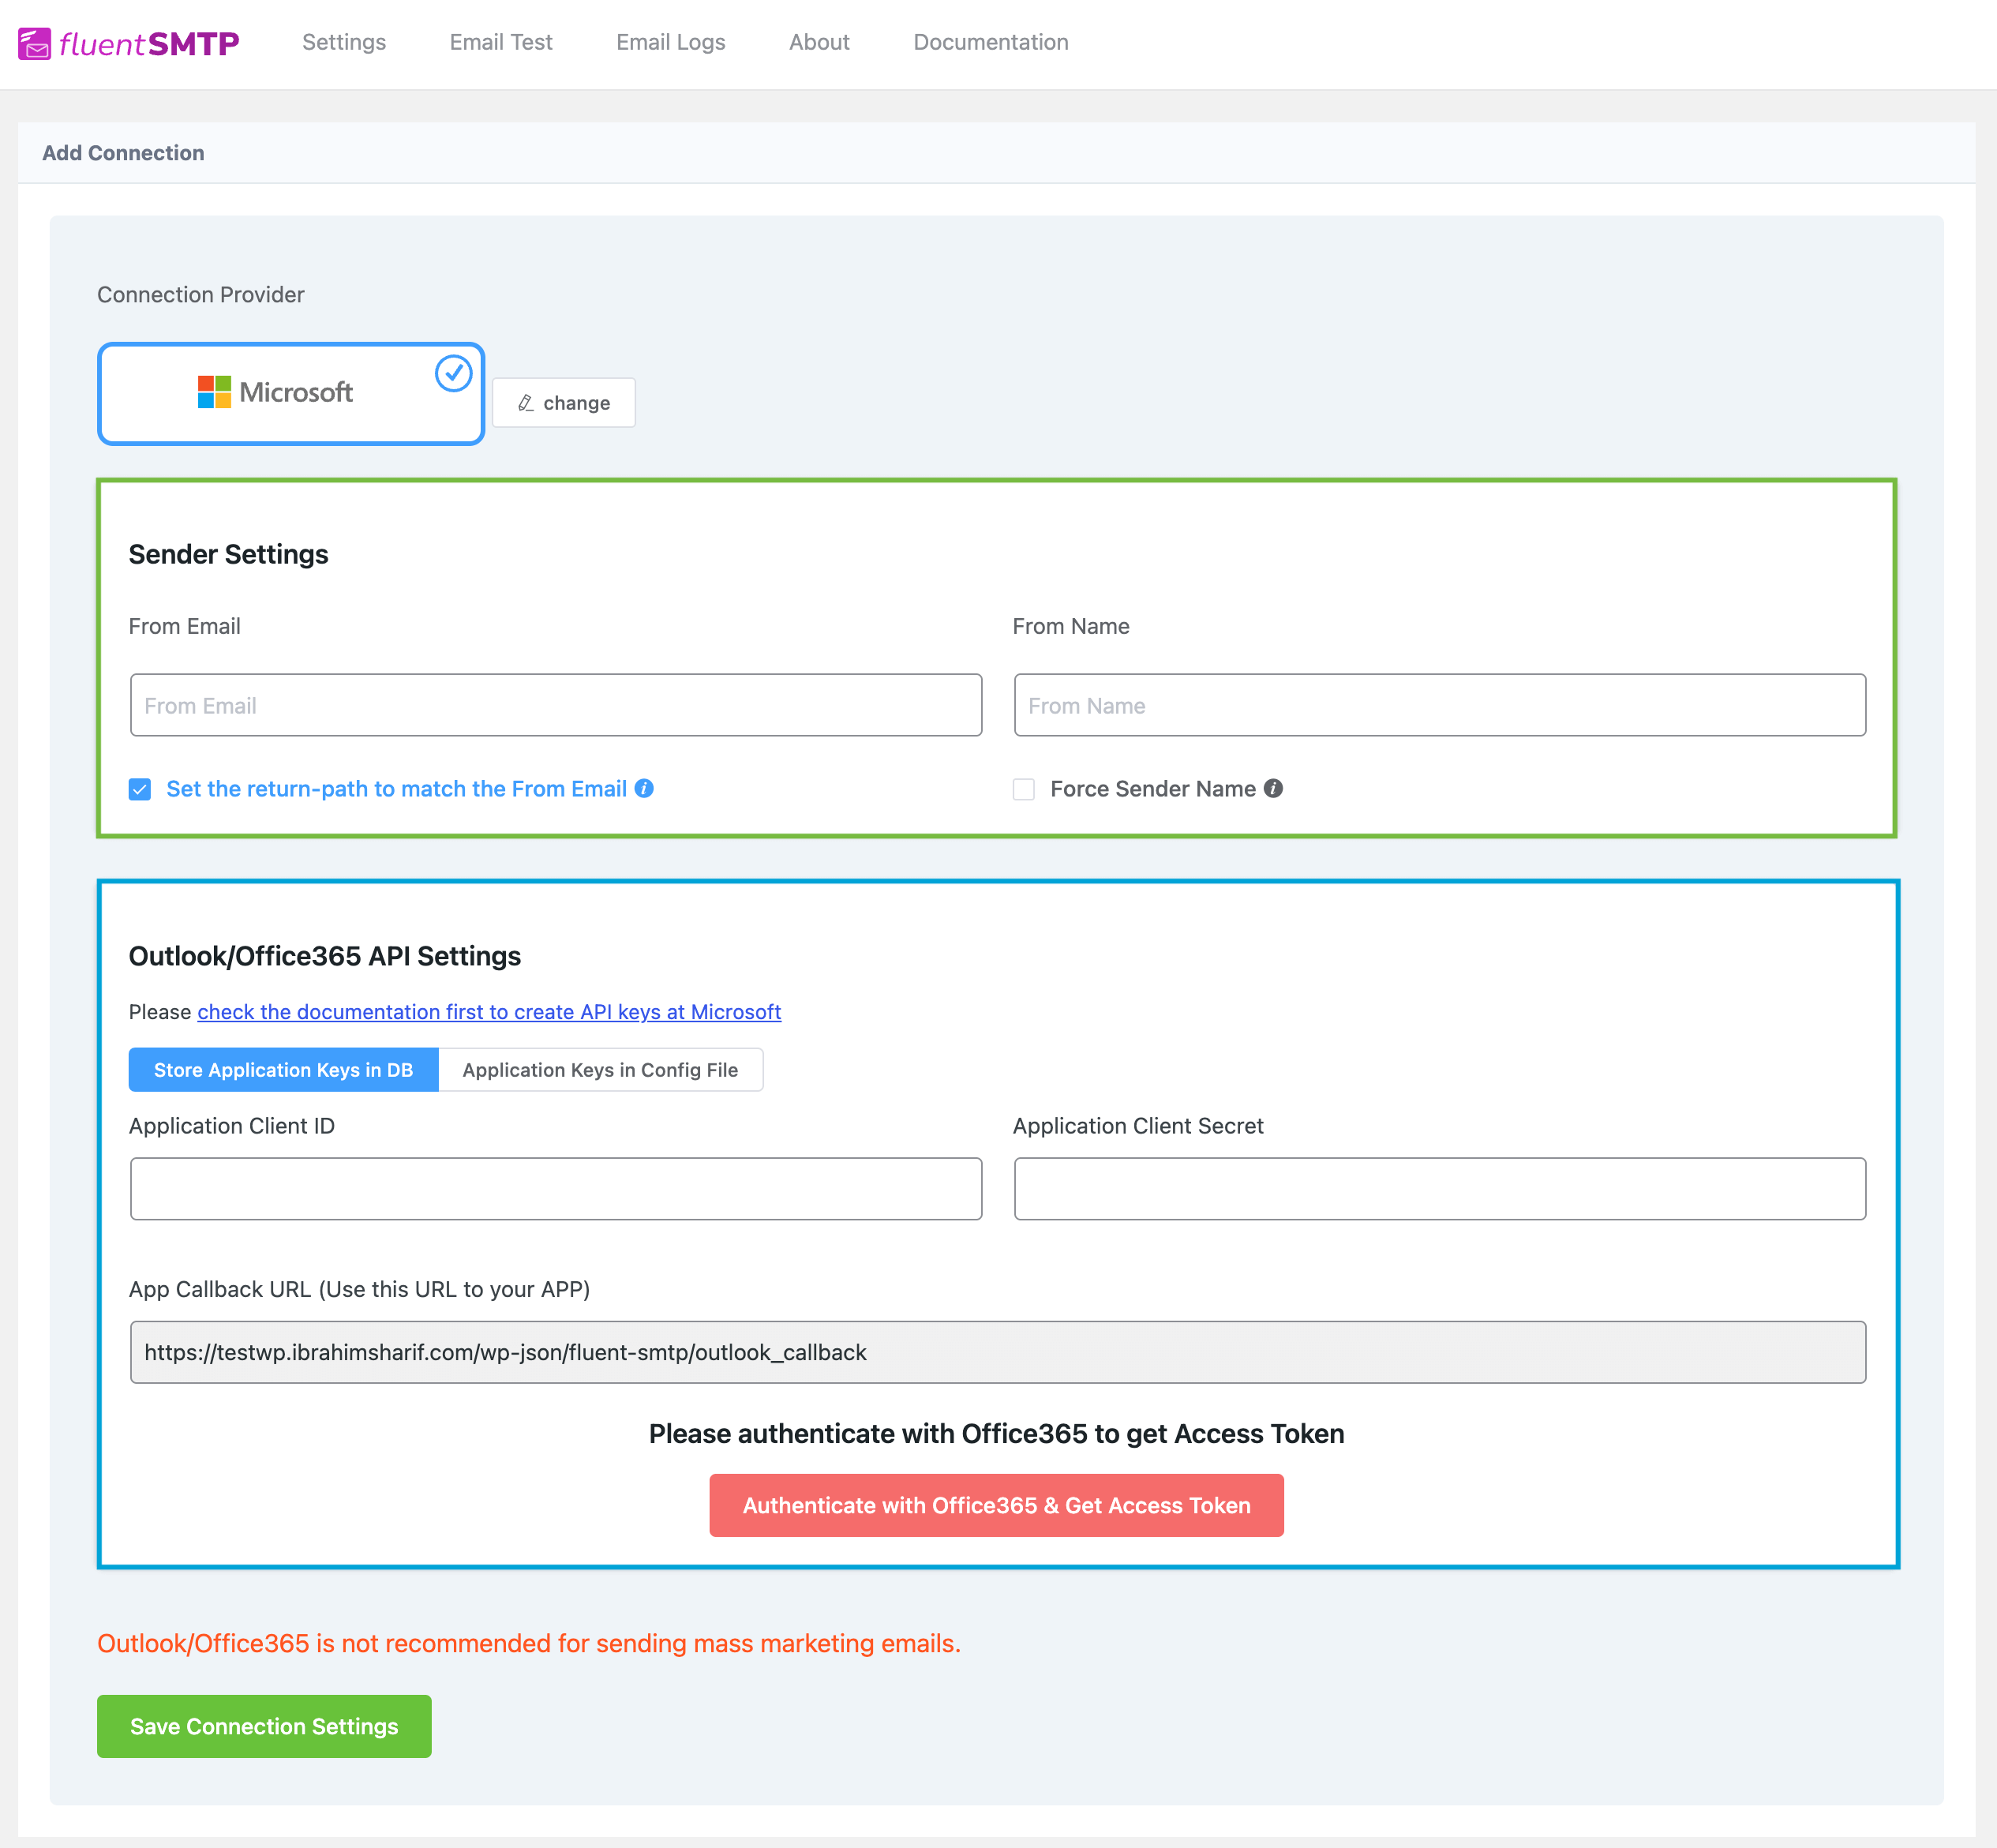
The Application Client ID and Client Secrets are parts of the Microsoft Azure Cloud Application. We need to:
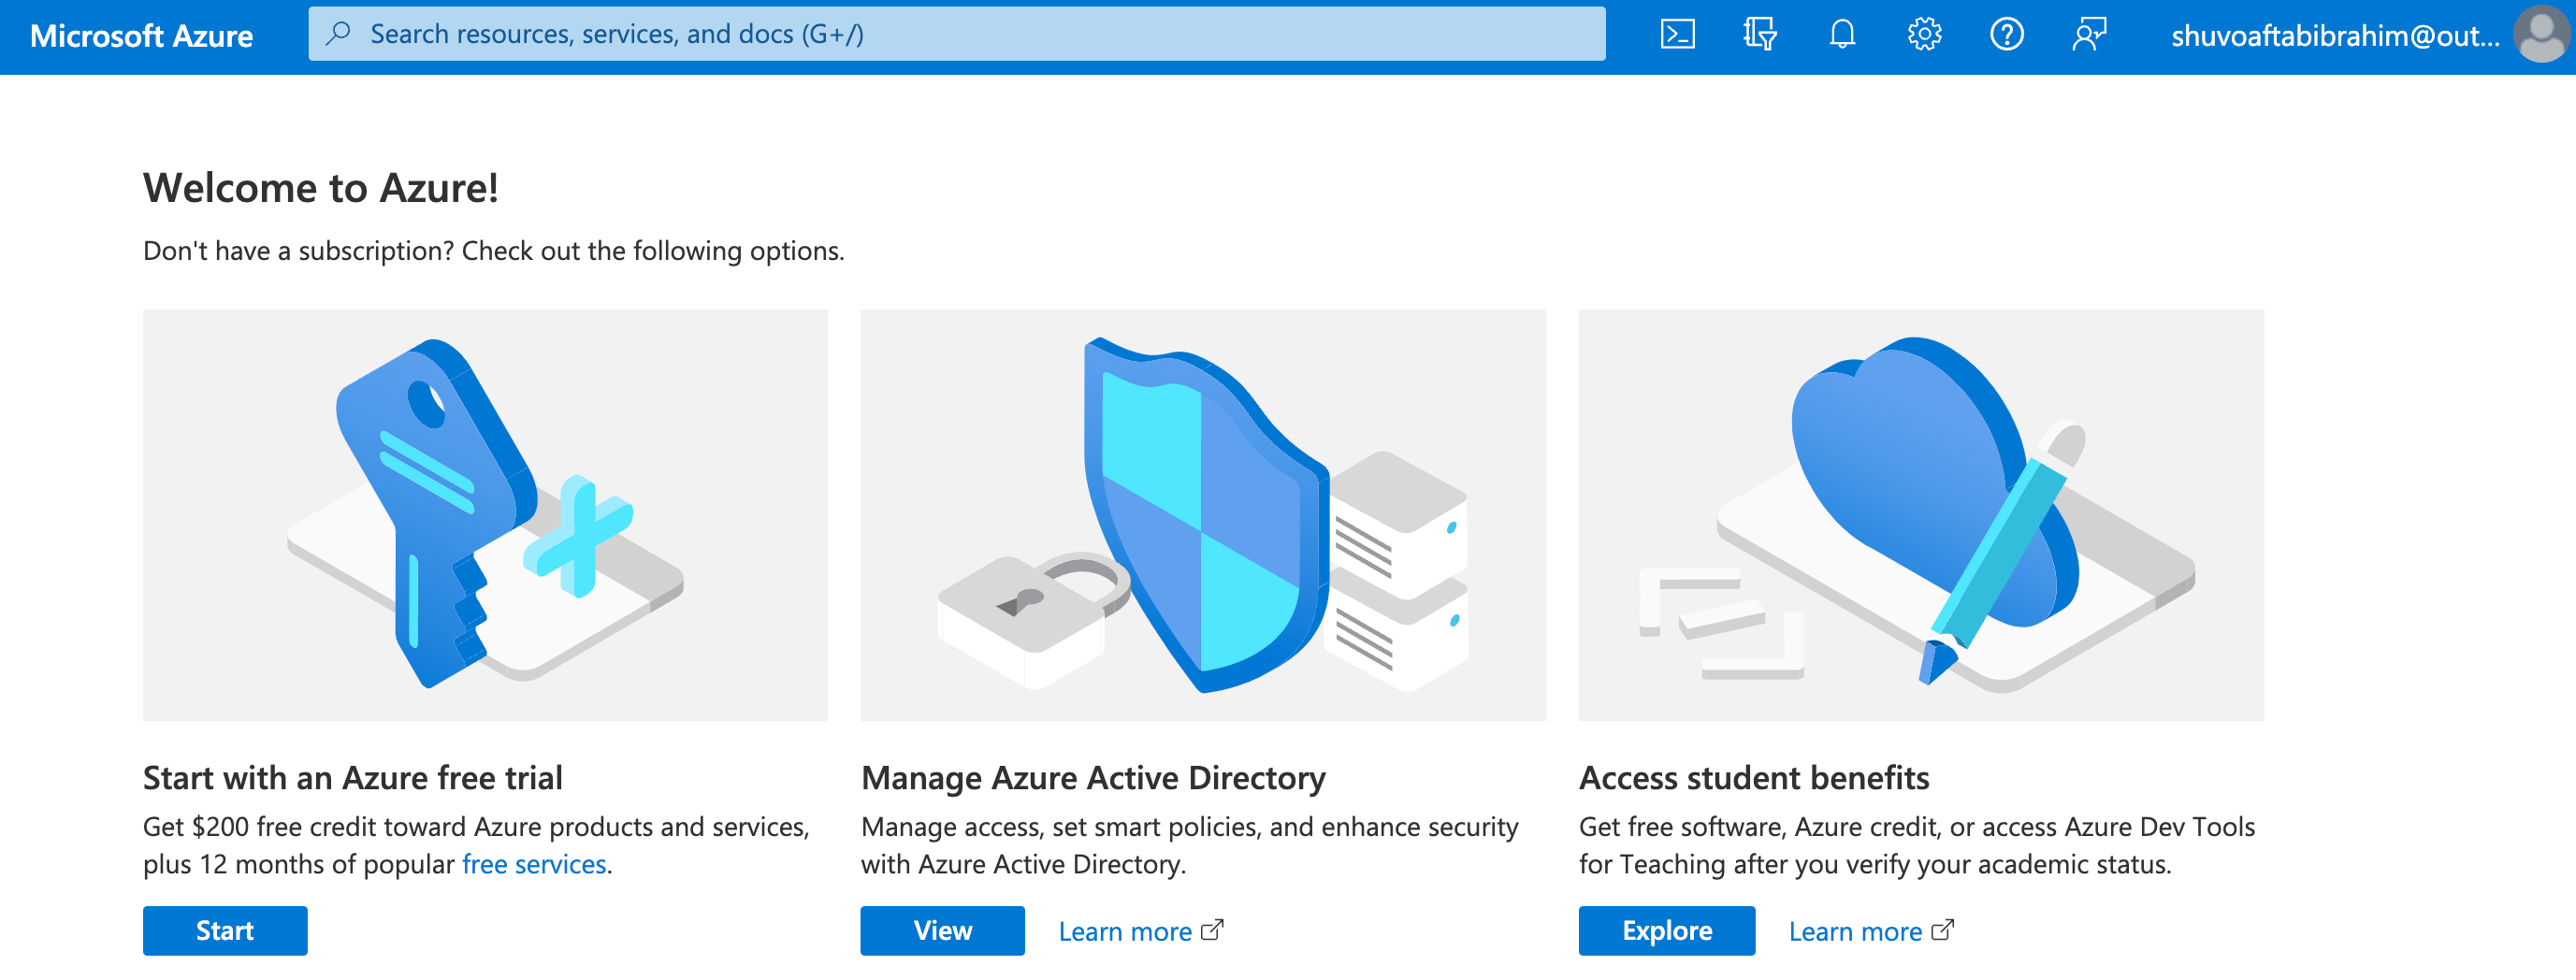
Please go to Microsoft Azure Portal from Here: Home - Microsoft Azure
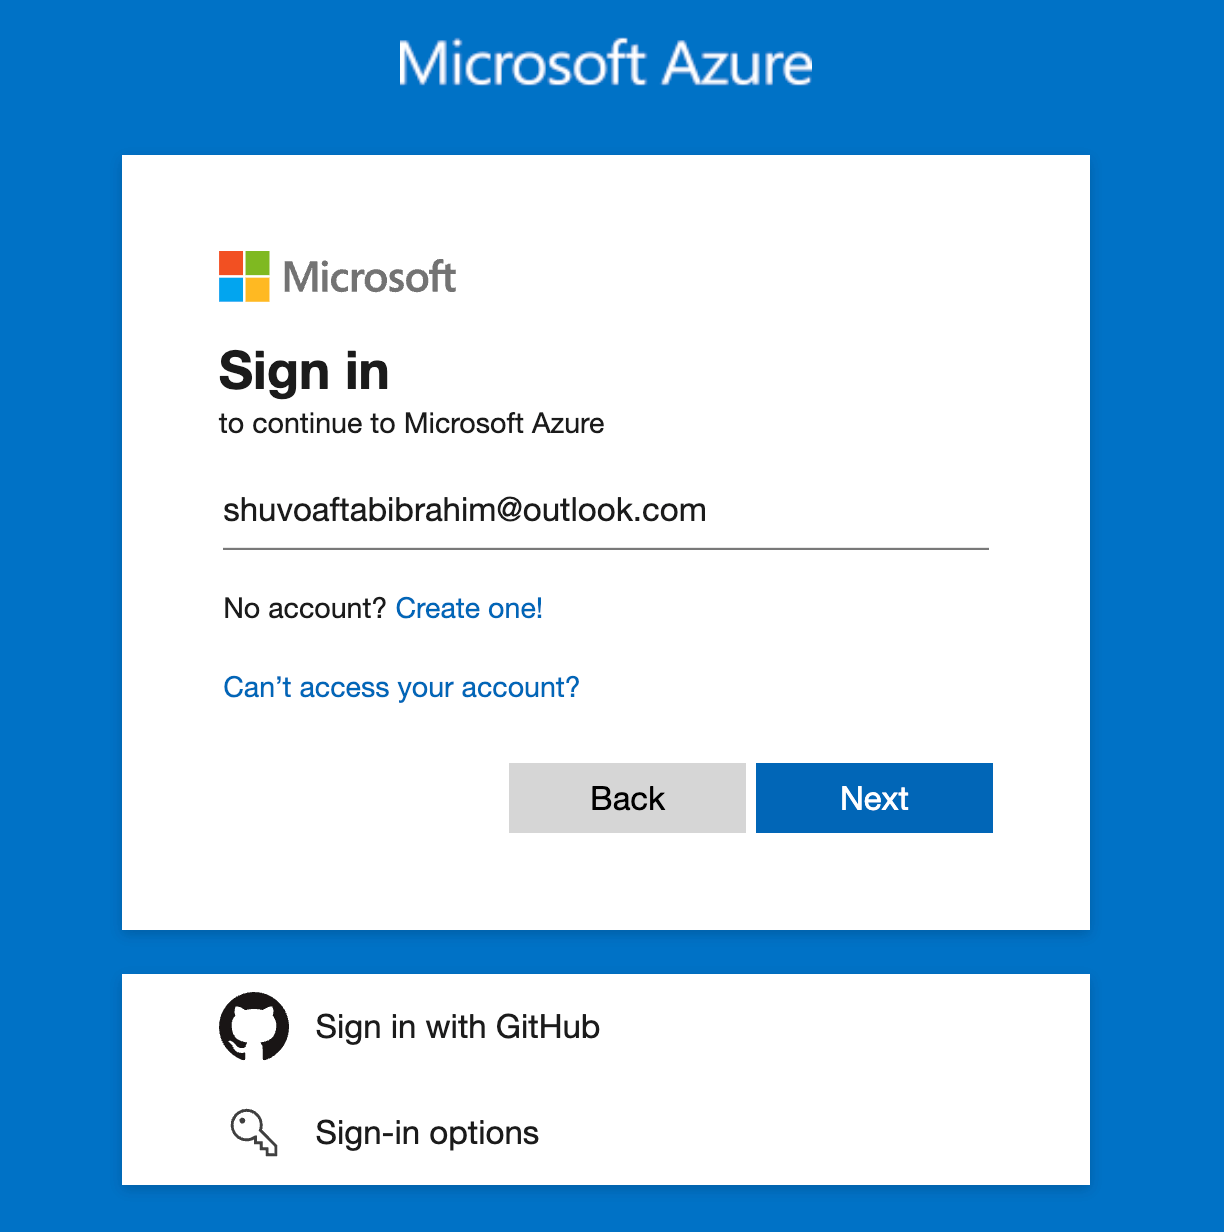
You may be asked to log in to your account using your Outlook or Office365 Account Email as the above screenshot. Once you are logged in you will be redirected to the Azure Portal Home as the below screenshot.
Now from the top search bar, Search for "app registration" and it will automatically suggest a few services and look for the App Registrations as below. Then click on this to go to the App Registration Dashboard.
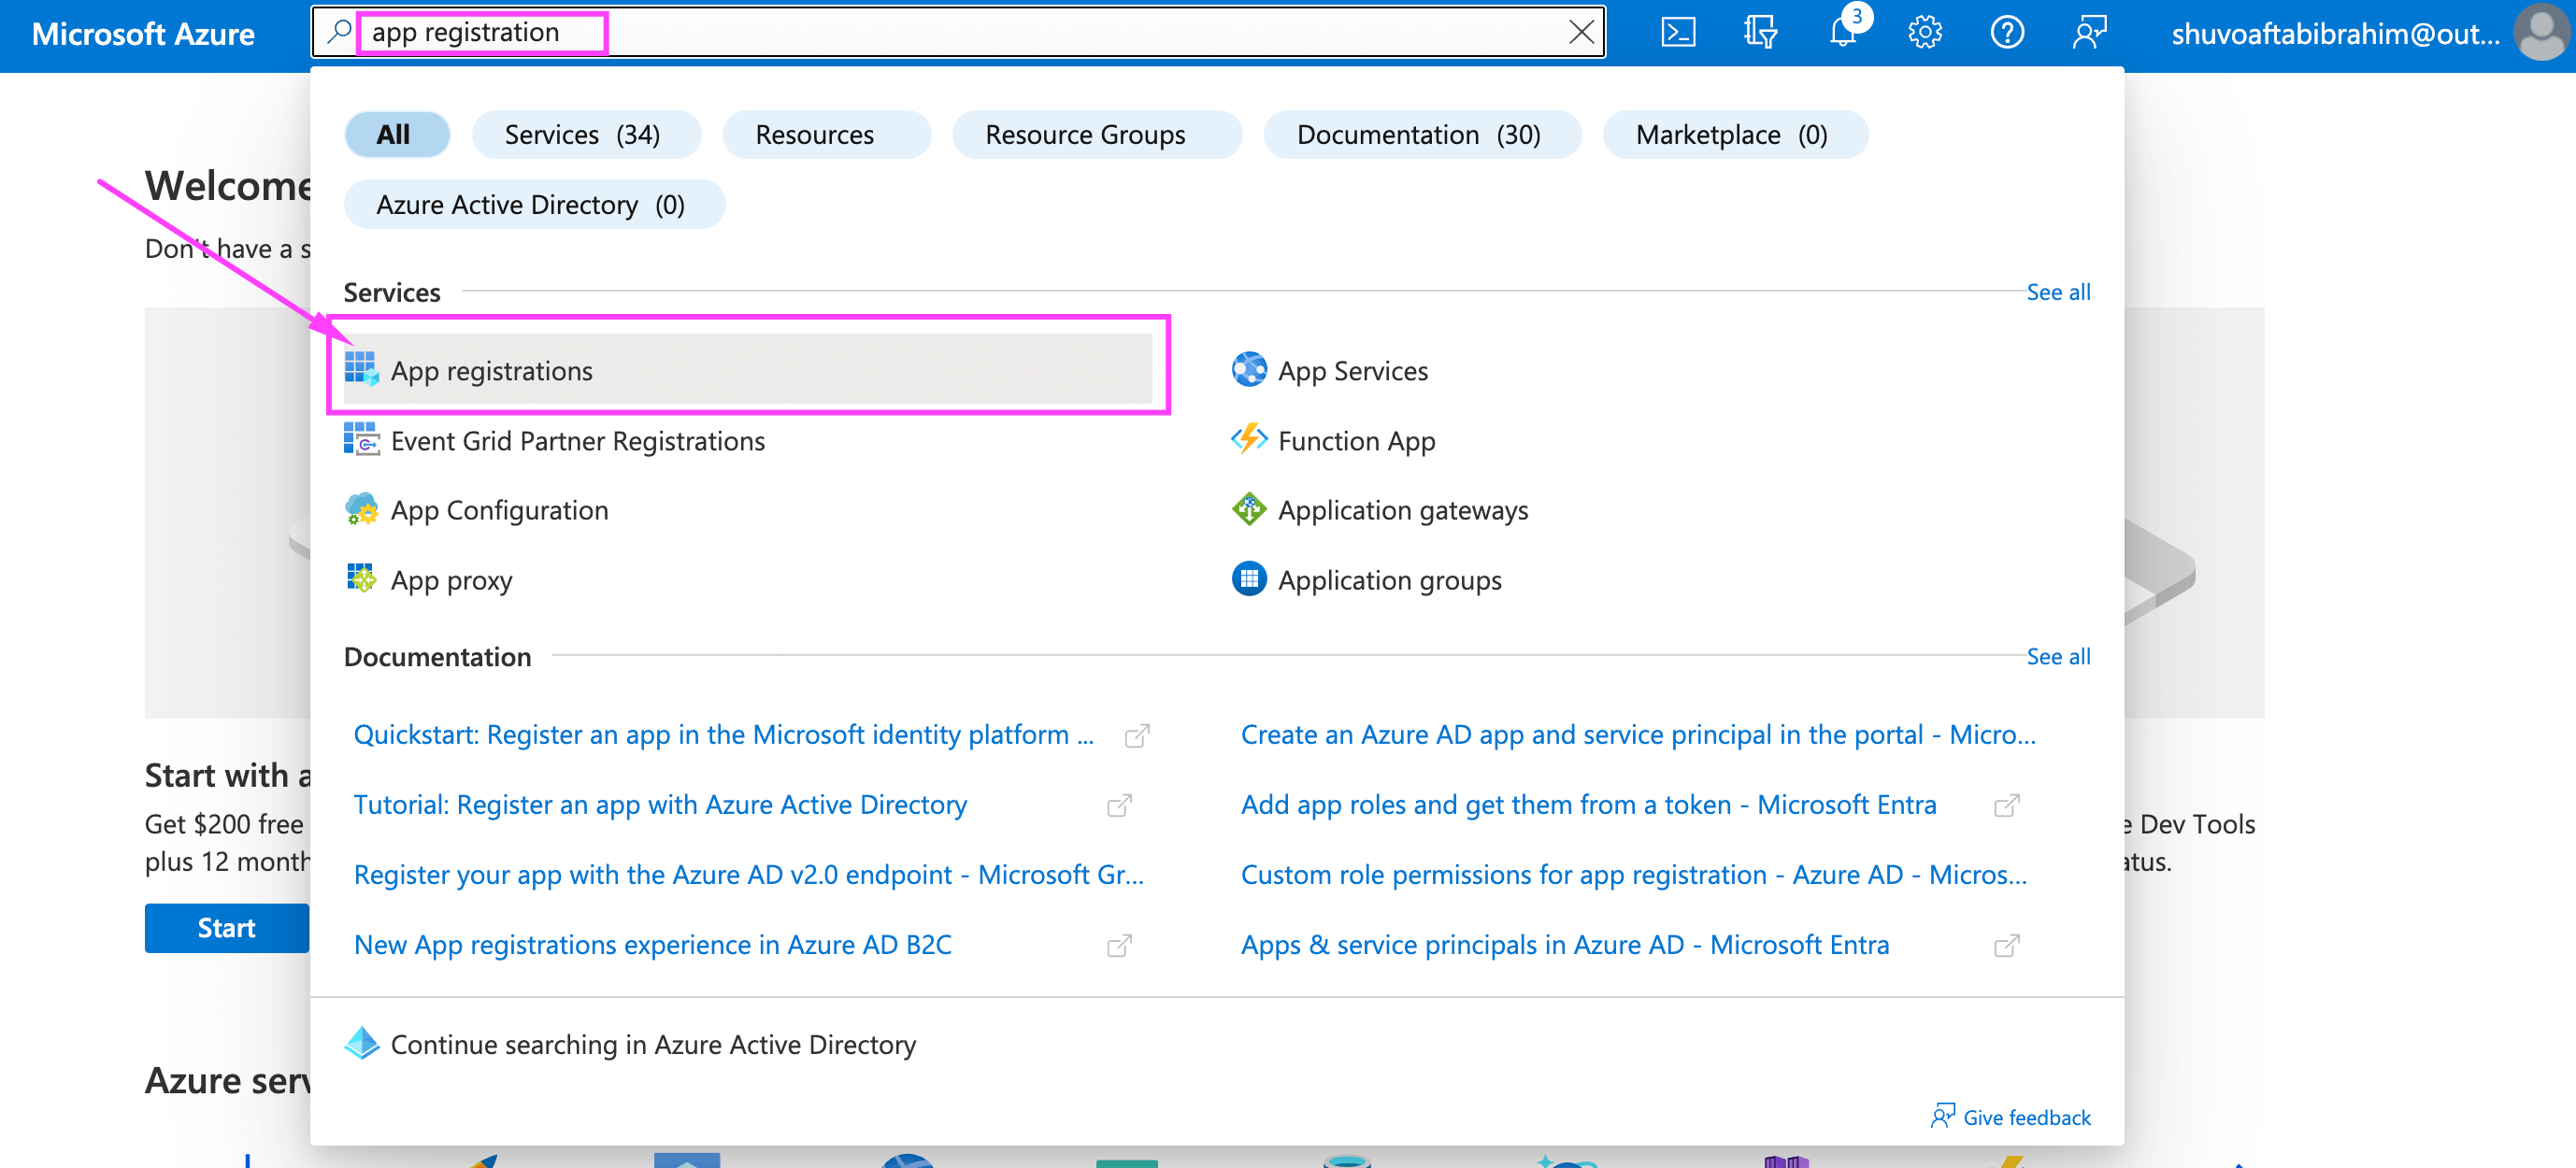
You can also directly go to New APP Registration from here: Register an application - Microsoft Azure and you will be redirected to the below dashboard once you are logged in as per the previous step.
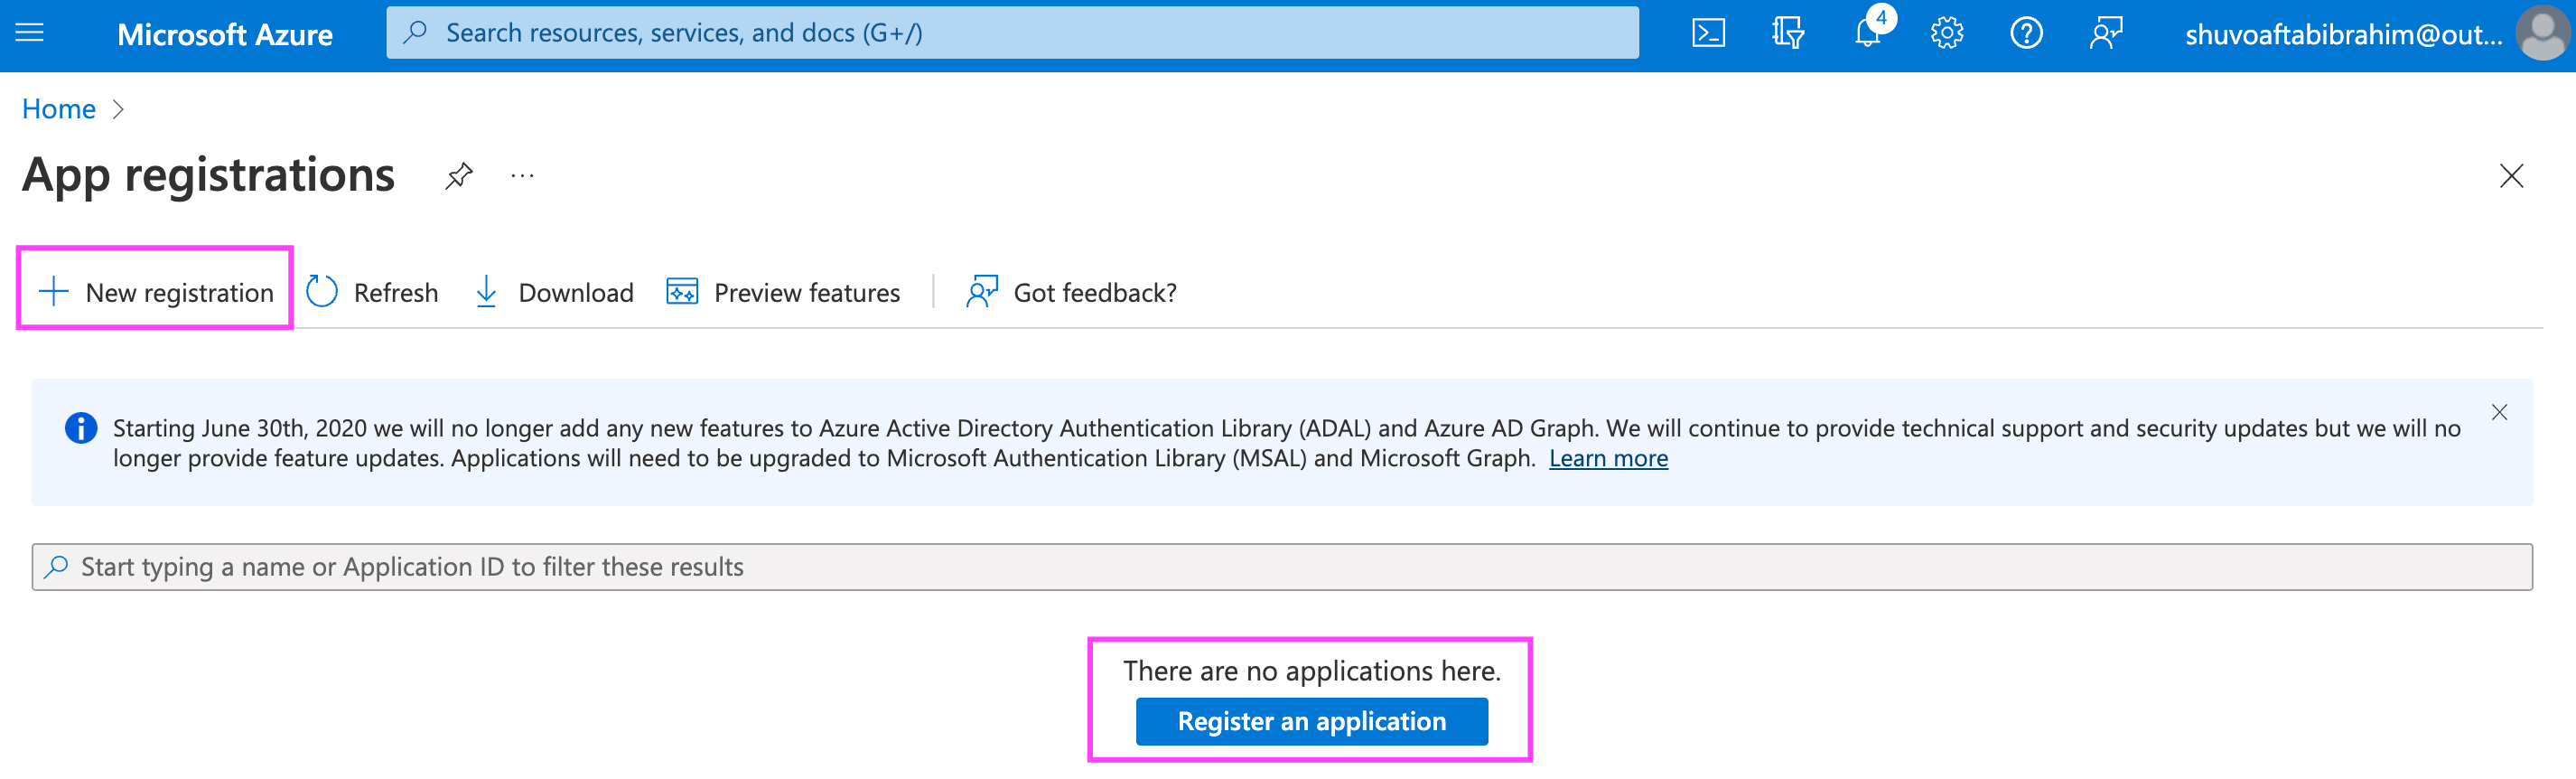
Now, if you do not have any existing Apps Registered then you will see the same dashboard as the above screenshot and can click on the Register an application button from the center.
If you already have an existing App registered, then you will have to click on the + New Registration button on the top section to Register an Azure Application.
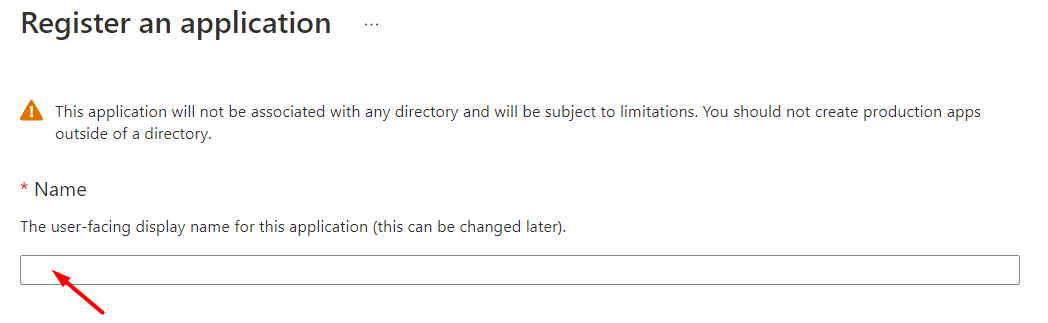
- Name: In the next section, Provide a Name for the Application as an Identifier.
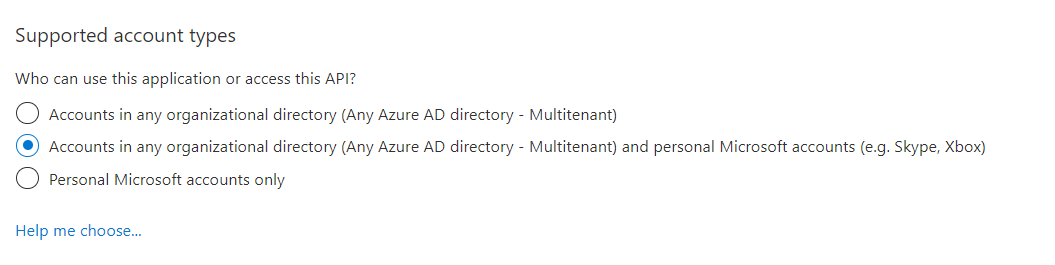
- Supported Application Type: This must be "Accounts in any organizational directory (Any Azure AD directory - Multitenant) and personal Microsoft accounts (e.g. Skype, Xbox)" to let FluentSMTP get authorized in the later steps and send emails from your Microsoft Account.
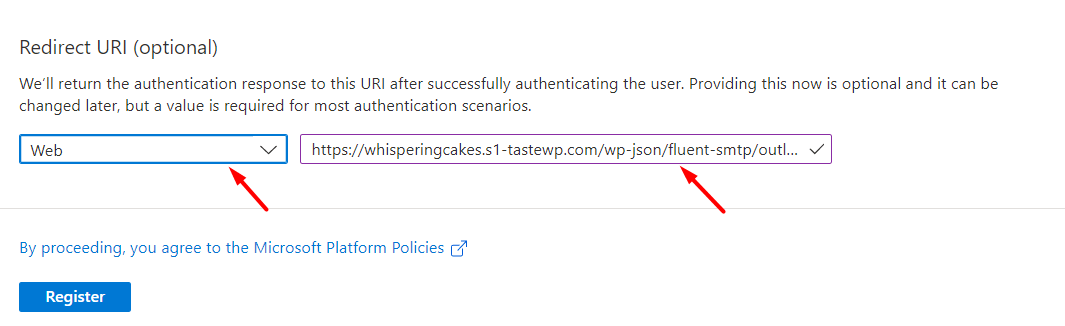
- Redirect URI: The Platform should be of Web type and the Redirect URI is the App Callback URL collected from the earlier step provided by the FluentSMTP plugin on your website.
The Redirect URI is in the following format:
https://**YourDomain.com**/wp-json/fluent-smtp/outlook_callback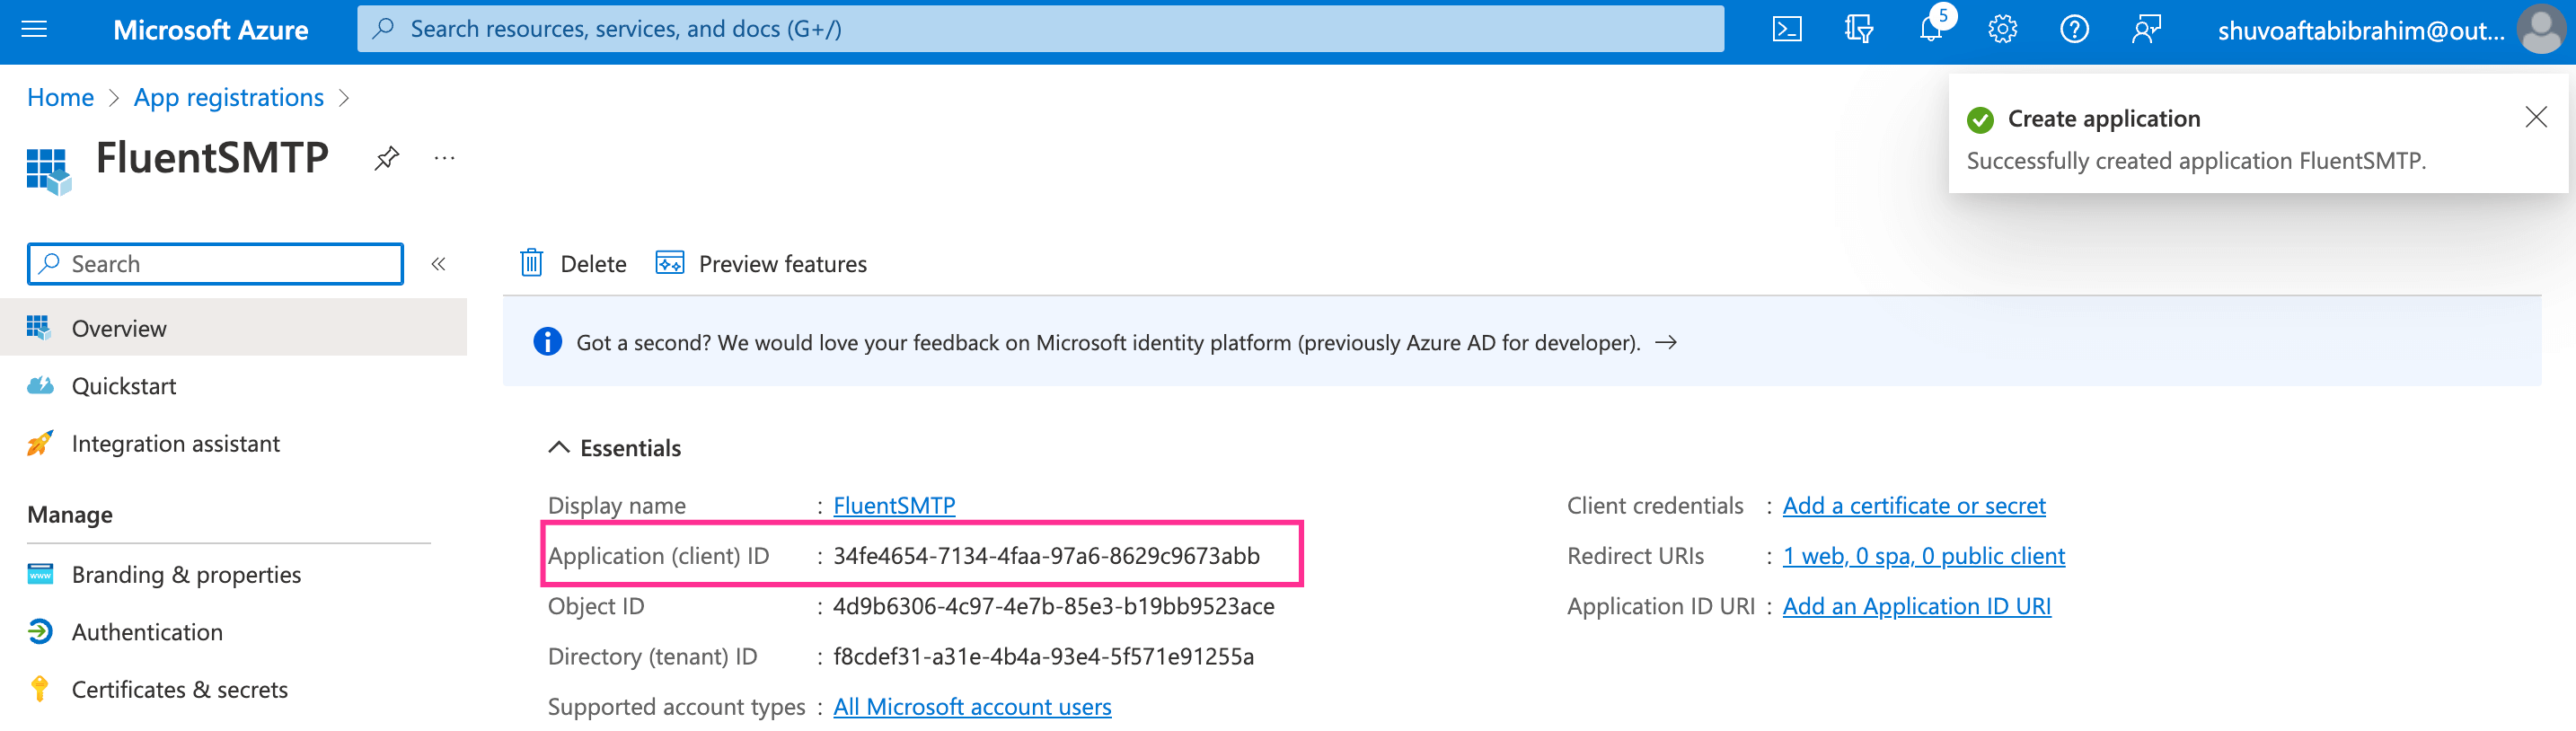
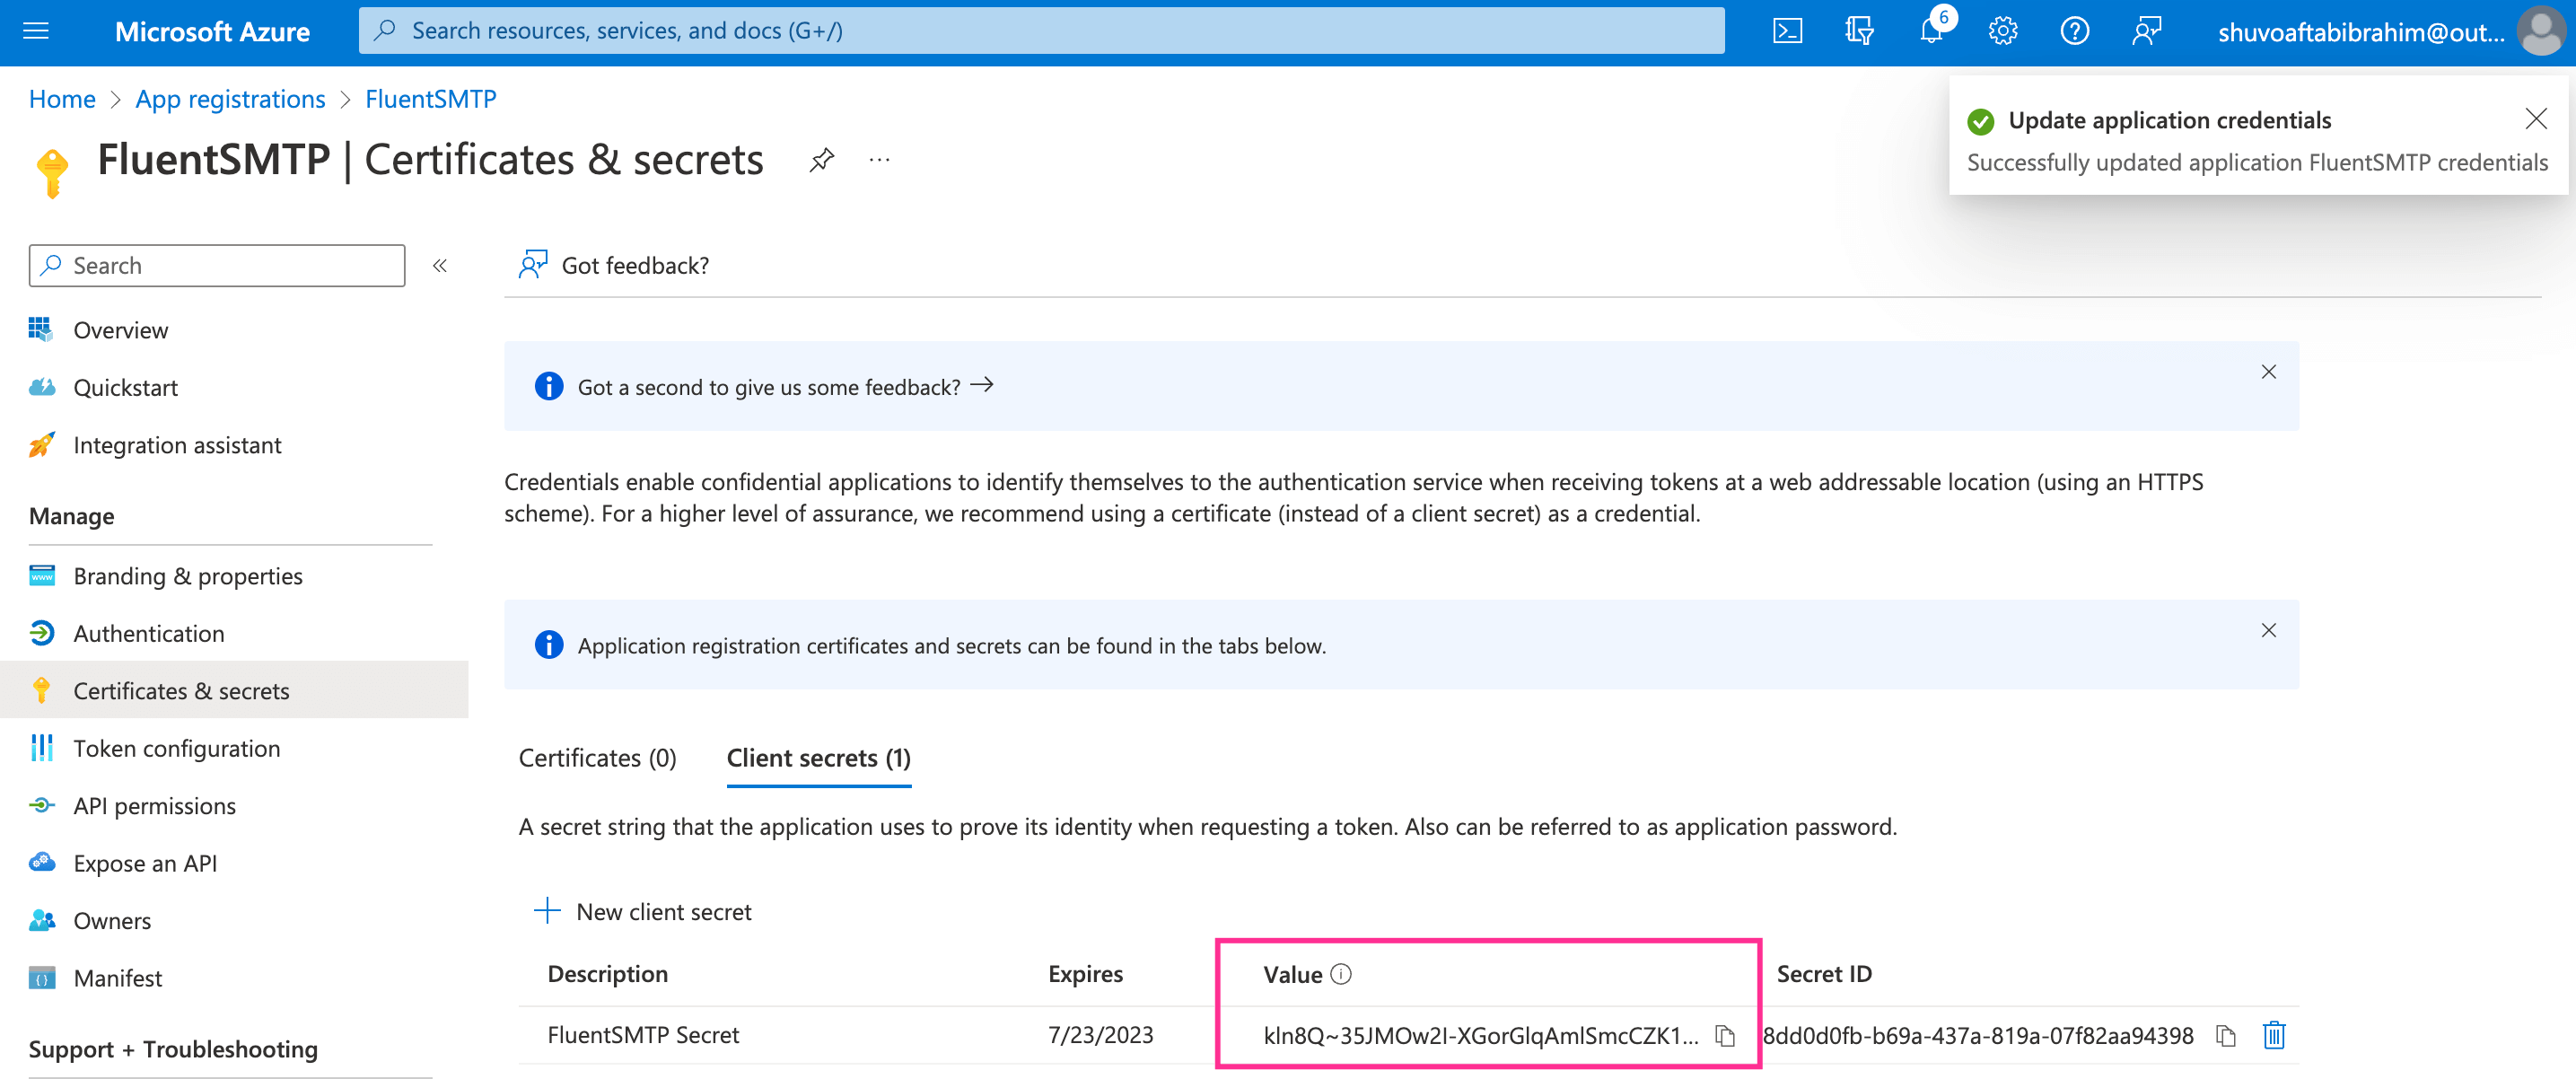
Now we need to create and store the Client Secret Value. To do this, please go to Certificates & Secrets ⮕ + New Client Secret
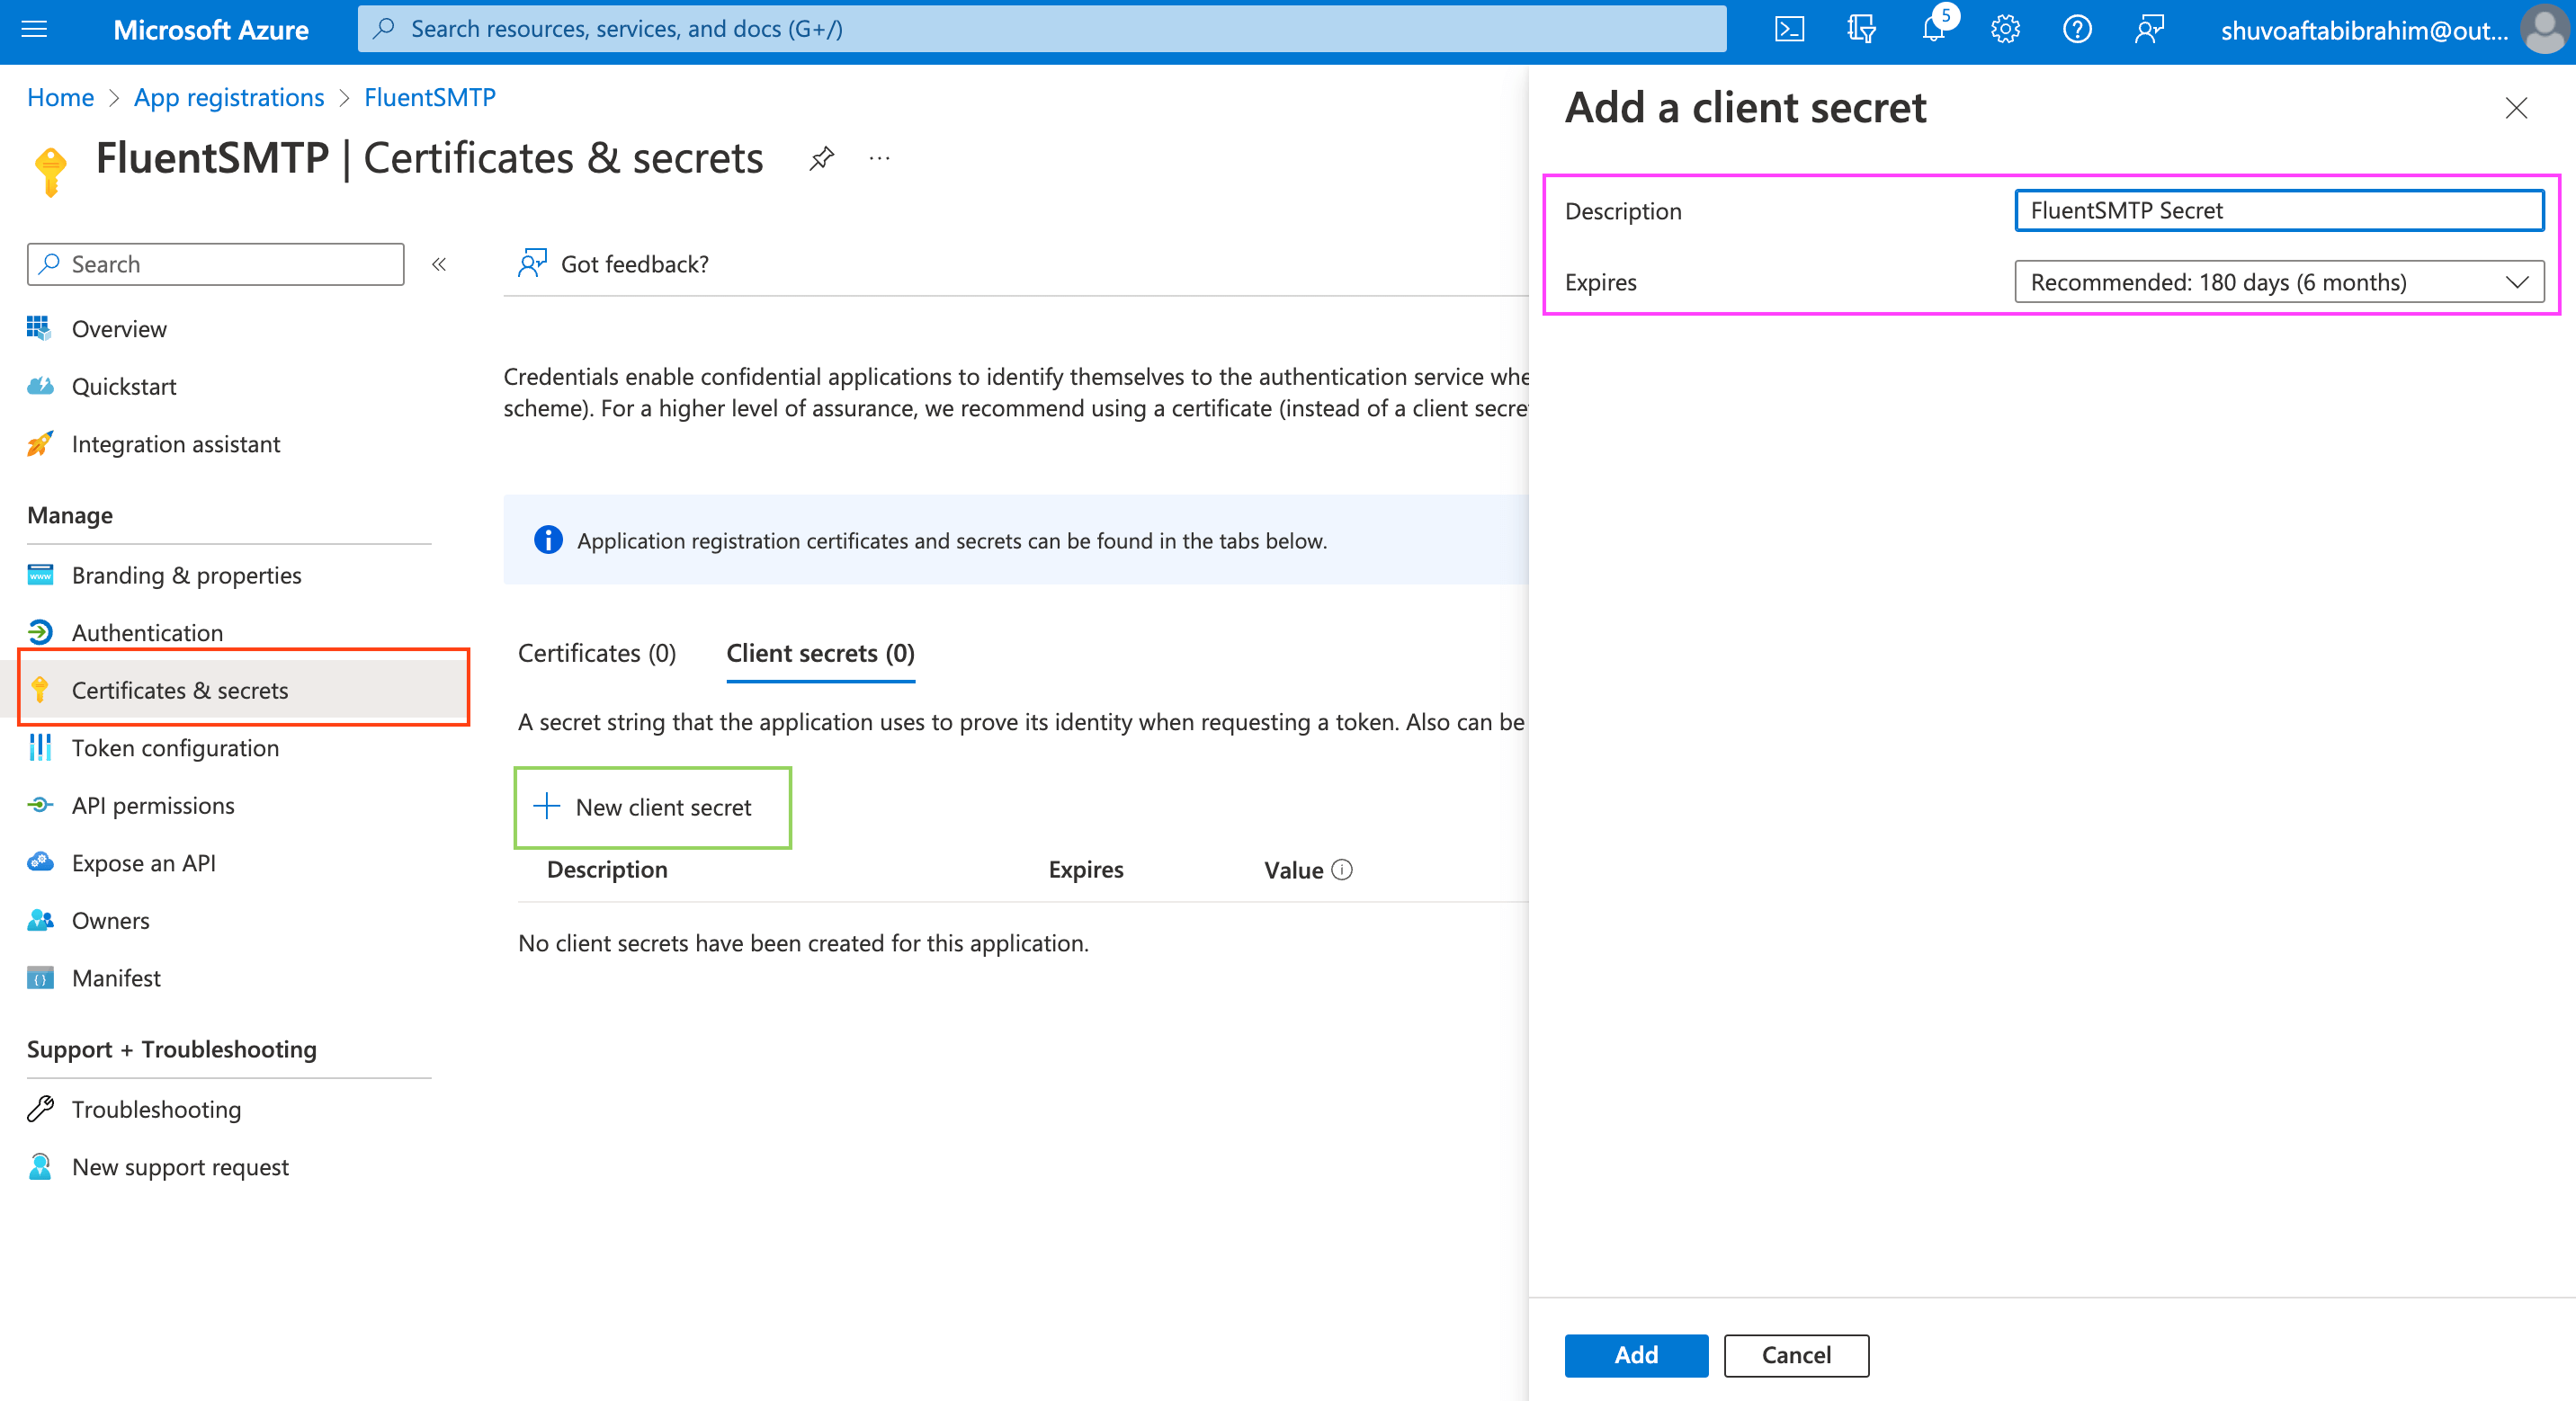
Once you are done please click on the Add button from the bottom and it will redirect you to Client Secret Overview and a Client Secret Value will be generated for you. Please copy and store this Client Secret Value as this will not be visible again once you leave this page.
FluentSMTP Microsoft Settings
We are done obtaining the Application Client ID and Client Secret Value. After providing them in the FluentSMTP Settings, please click on the "Authenticate with Office365 & Get Access Token" button.
Application Details
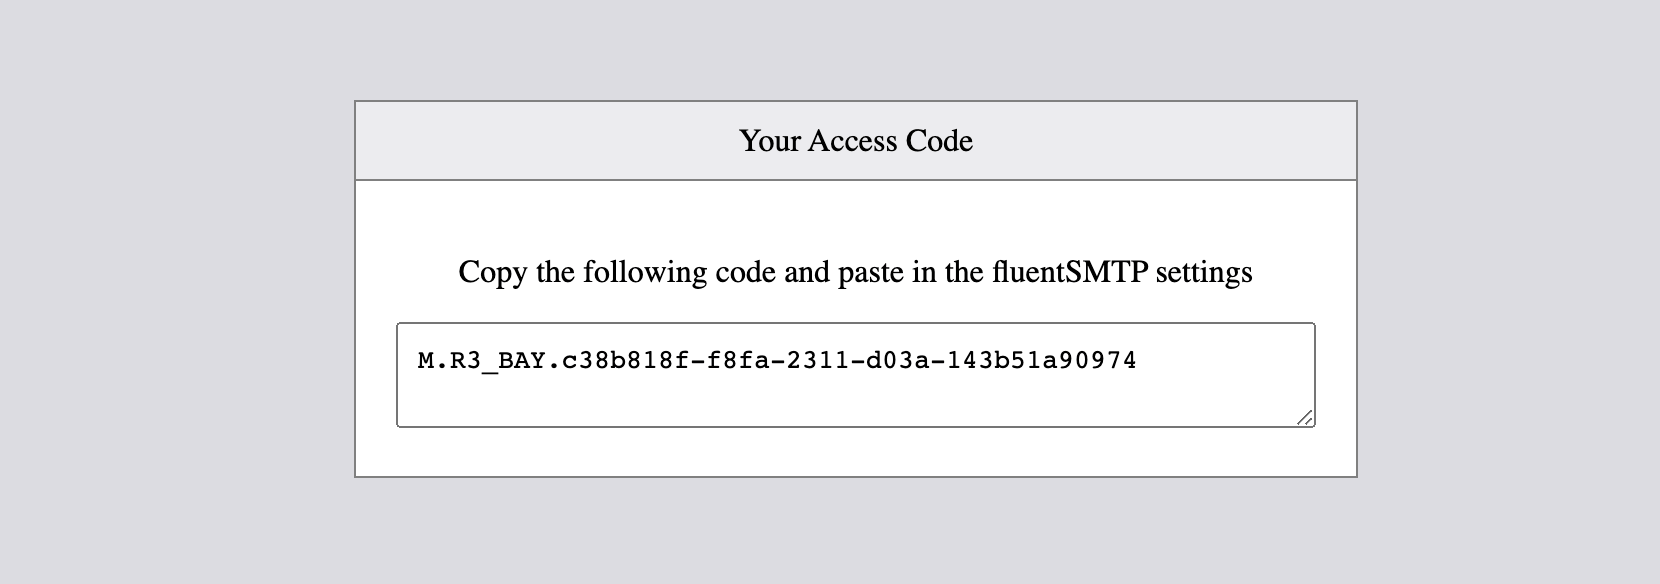
Token Generation
Then you will be redirected to the Token Generation Page from where we need to copy and store the generated Token to use in the FluentSMTP Settings as below:
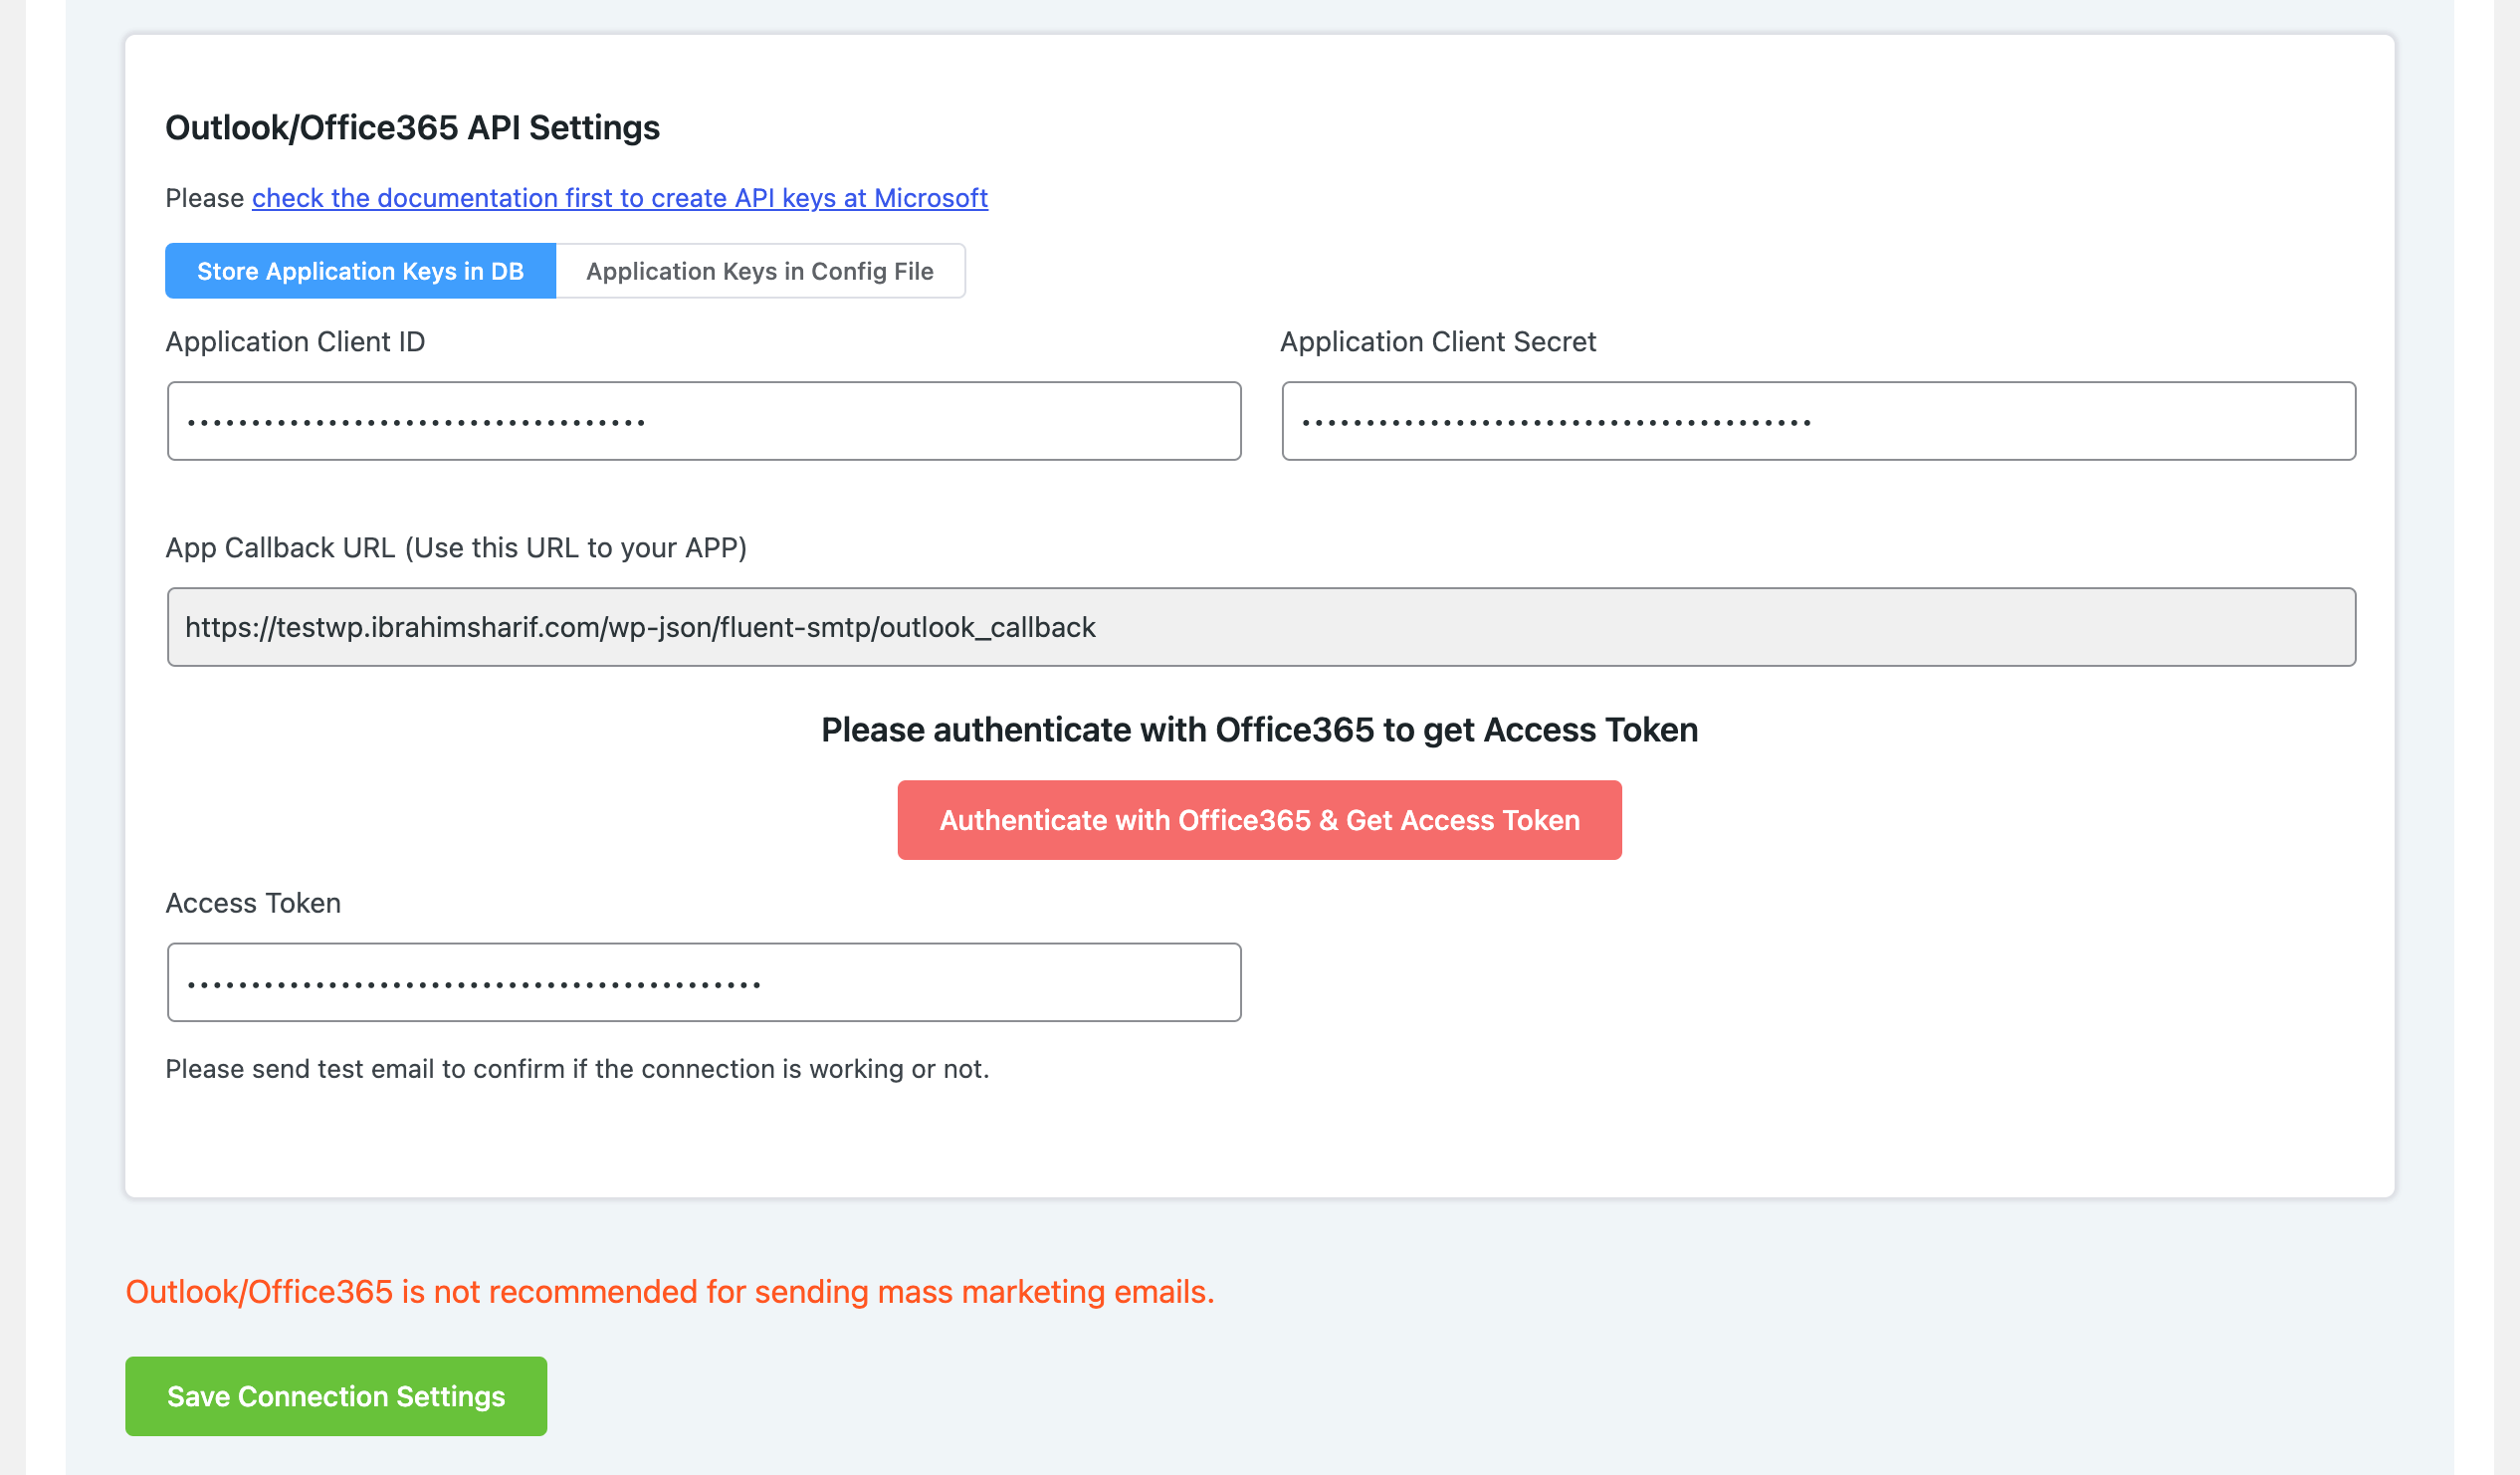
Save Microsoft Connection Settings
Now provide the earlier generated Token in the FluentSMTP Settings and finally click on the Save Connection Settings button.
That's all about Configuring FluentSMTP with Microsoft Outlook, Hotmail, or Office365 Emails to send emails from the WordPress website. Additionally, it is recommended to Send a test email, Test Email Confirmation, and then Confirm Test Email Deliverability.